The NexTrade “Course Builder”
The NexTrade “Course Builder” is your command center for crafting engaging online courses. It empowers you to structure your content, add various media, and assess student learning all in one place.
Within the Course Builder, you can:
-
Build a structured curriculum: Create topics and lessons to organize your course content logically. Easily manage the order of these elements.
-
Add rich content to lessons: Populate your lessons with various content types, including text, images, videos, and downloadable resources.
-
Assess with Quizzes and Assignments: Design a variety of assessments directly within the Course Builder, including quizzes and assignments. Choose from various question types, configure settings, and provide personalized feedback.
Accessing the Course Builder
From Your NexTrade Dashboard:
-
Log in at yourwebsite.com/dashboard.
-
Click “Create a New Course.”
-
Hover over a course and click “Edit” to open the Course Builder.
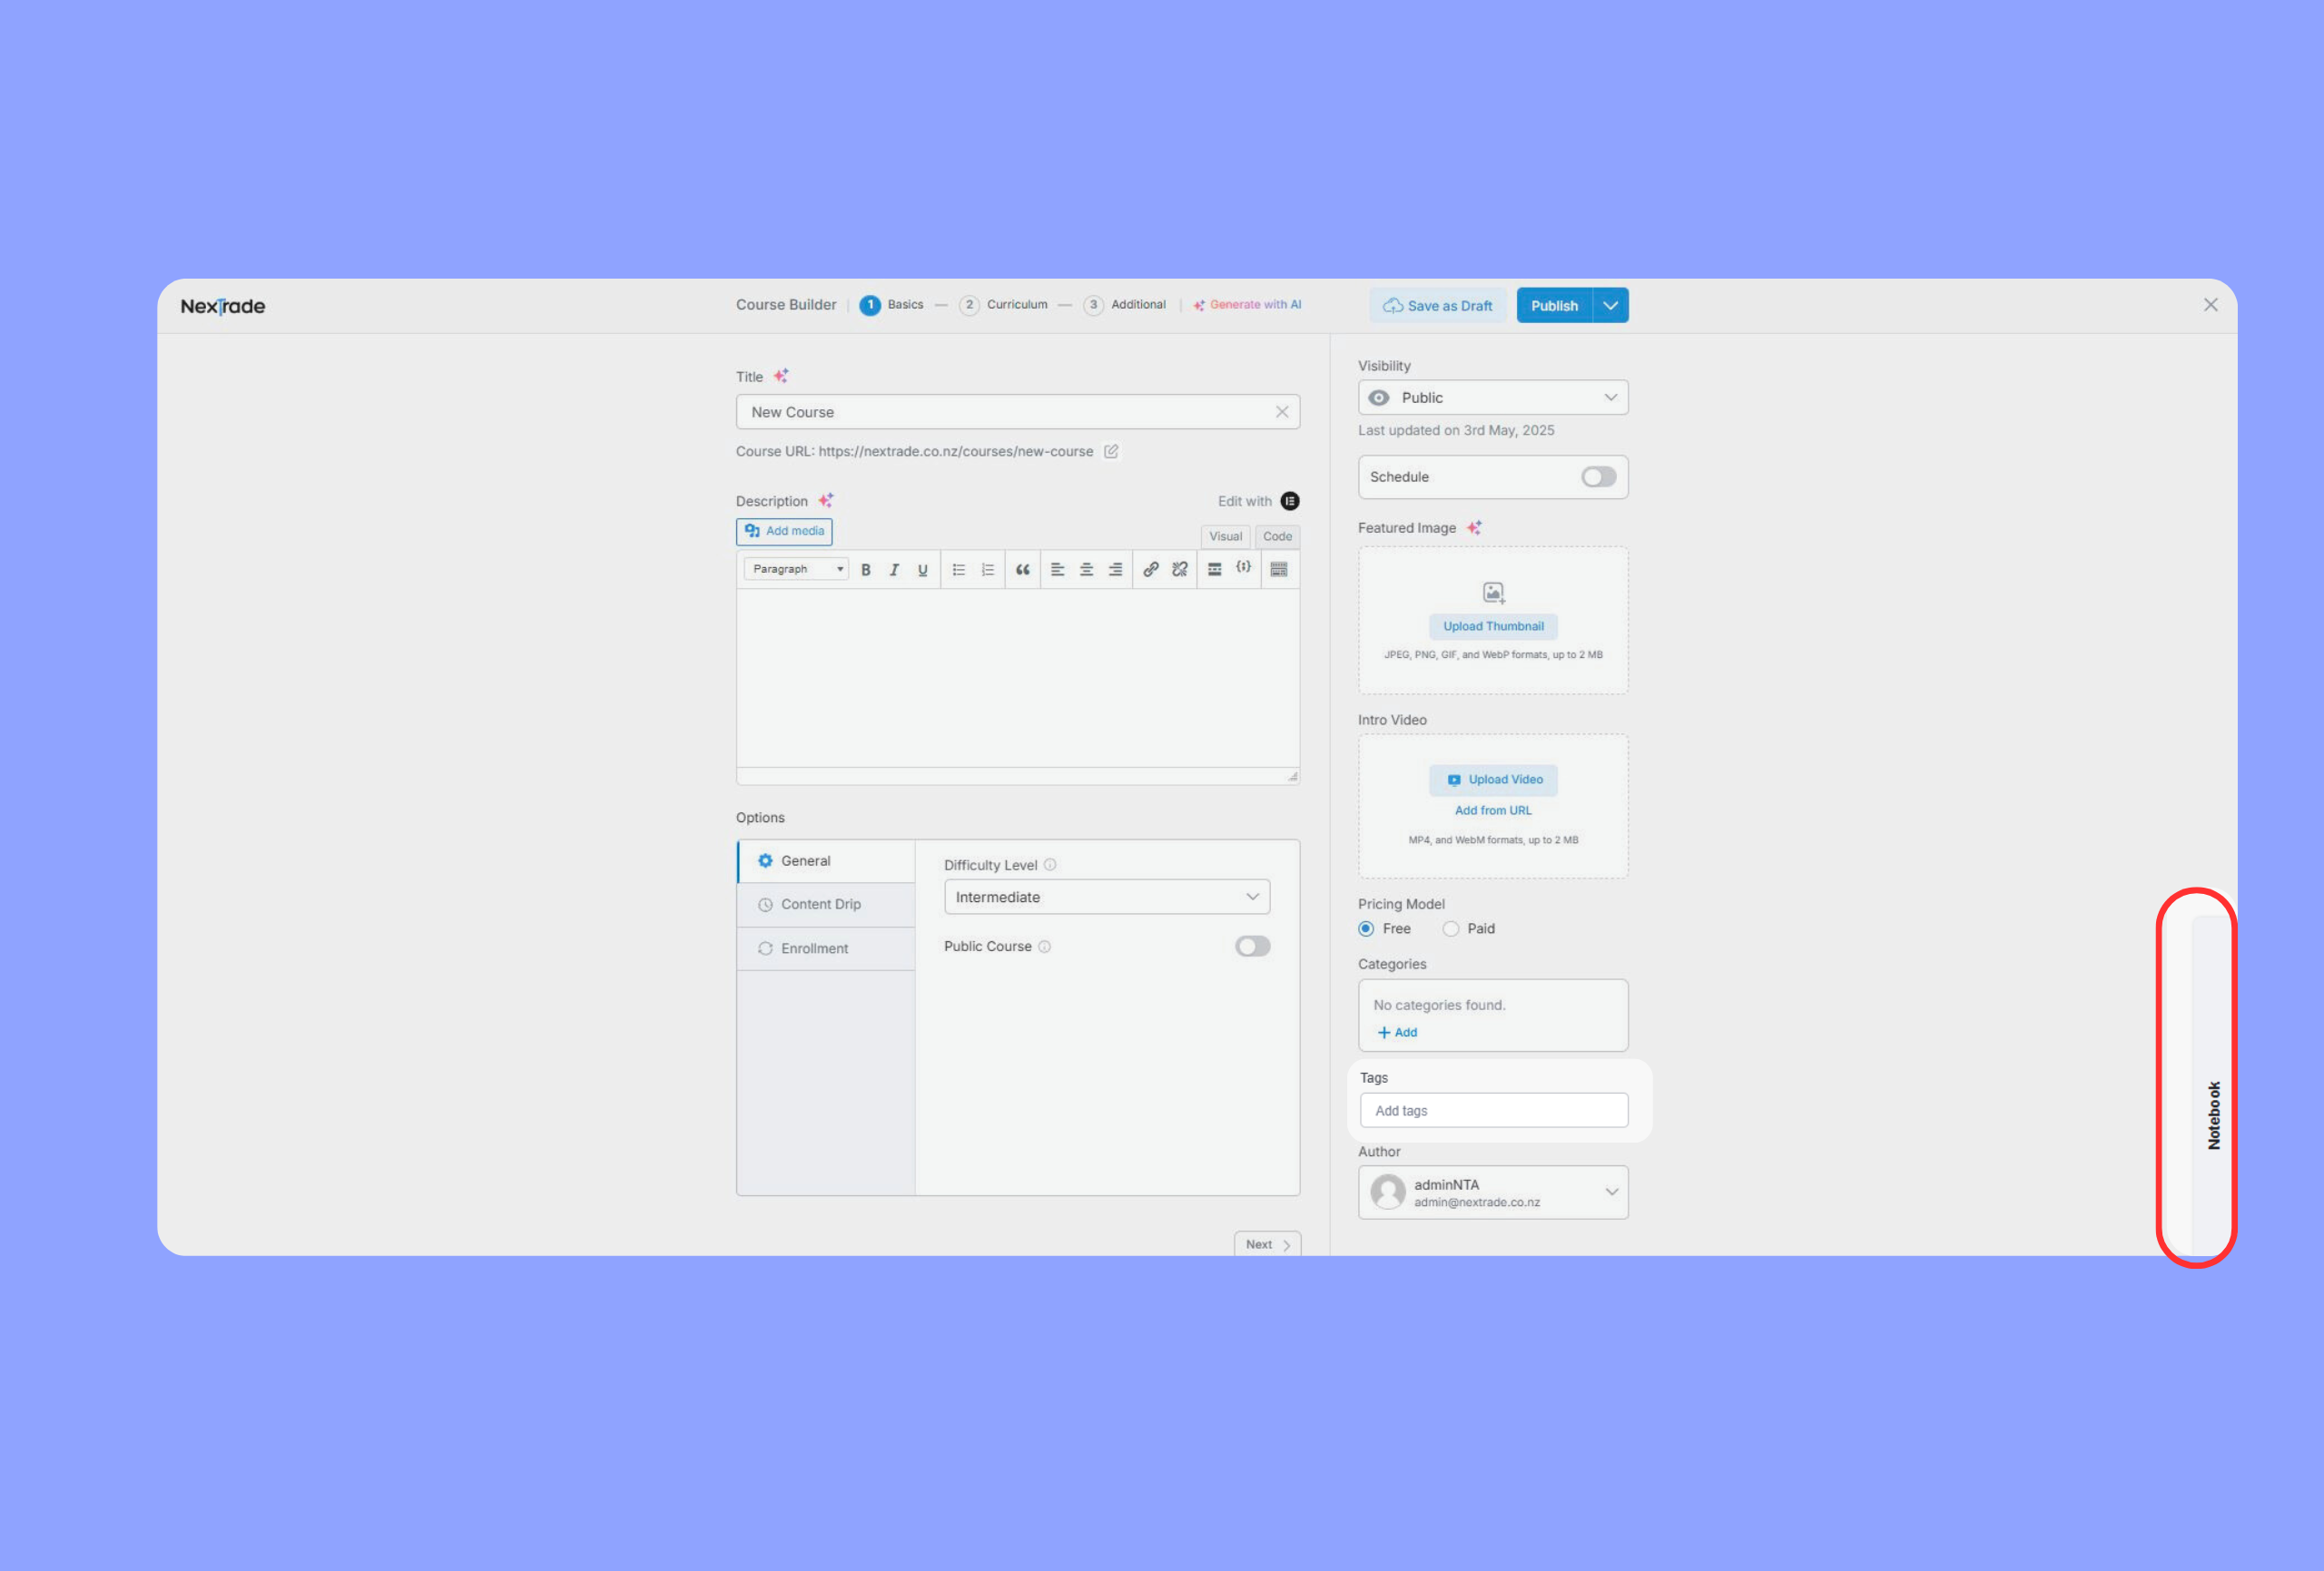
Course Basic
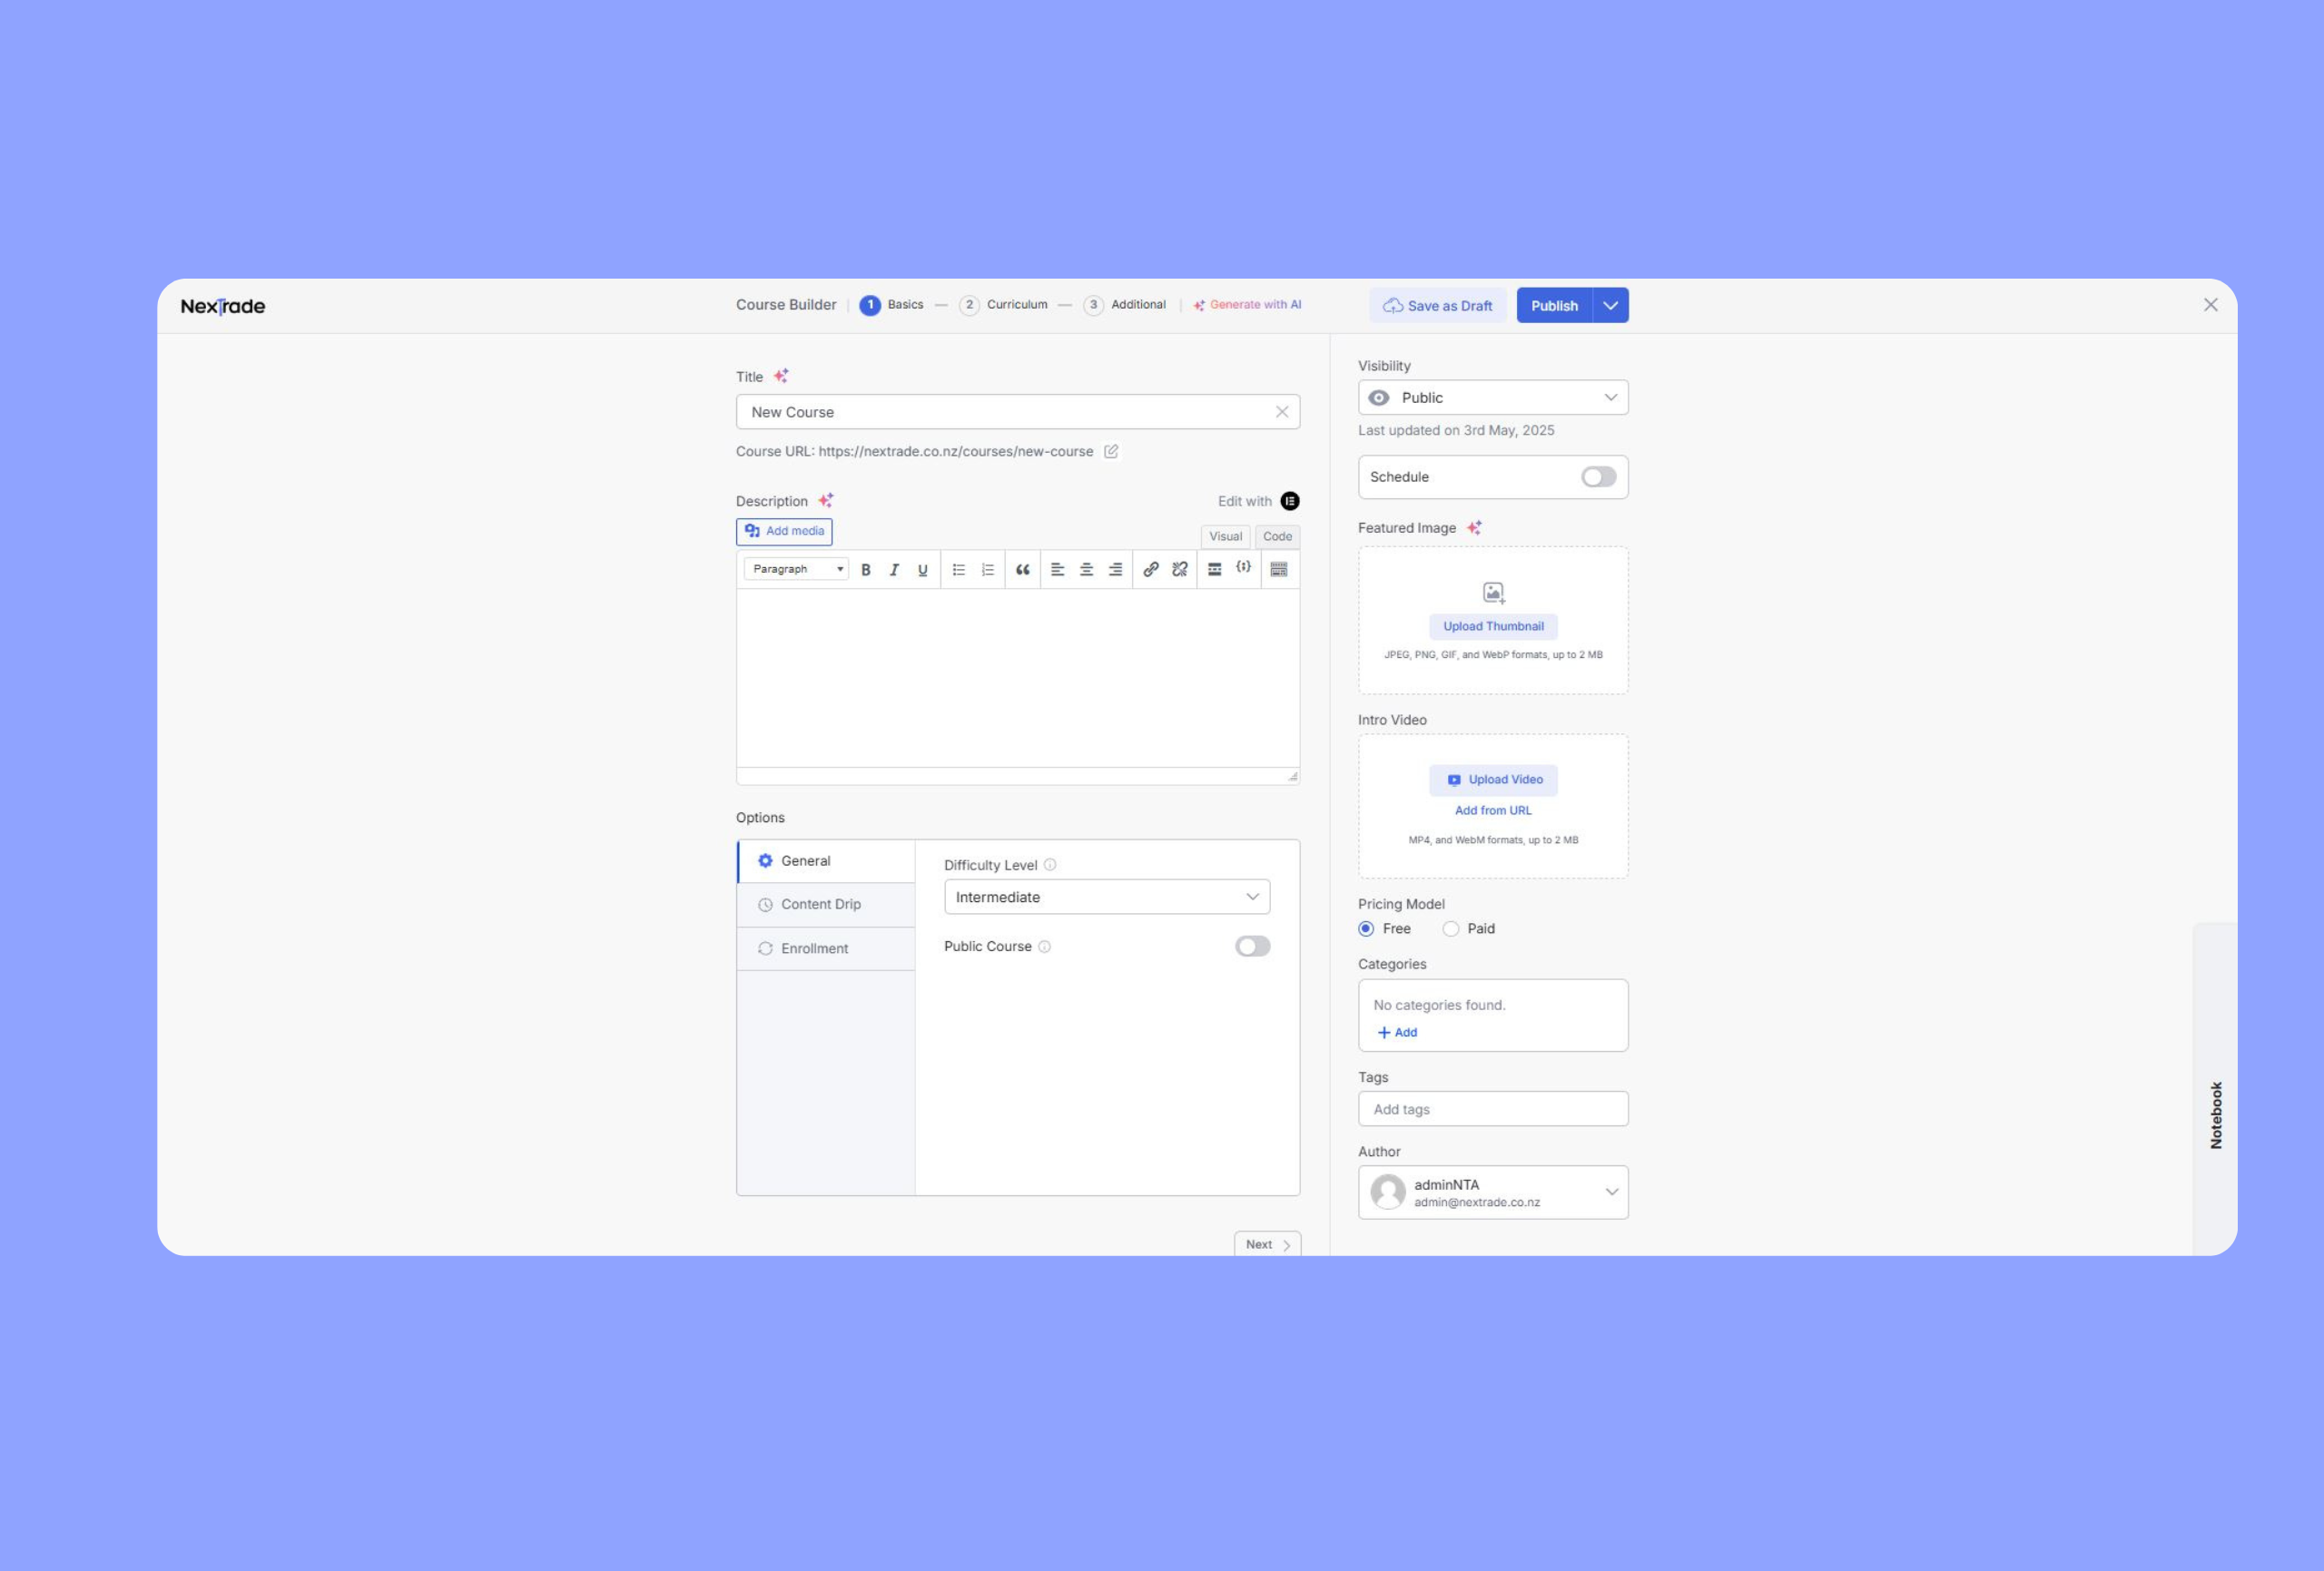
The “Course Basic” section is where you lay the groundwork for your online course. This is where you’ll establish key elements that shape how your course appears and functions.
Course Title and URL
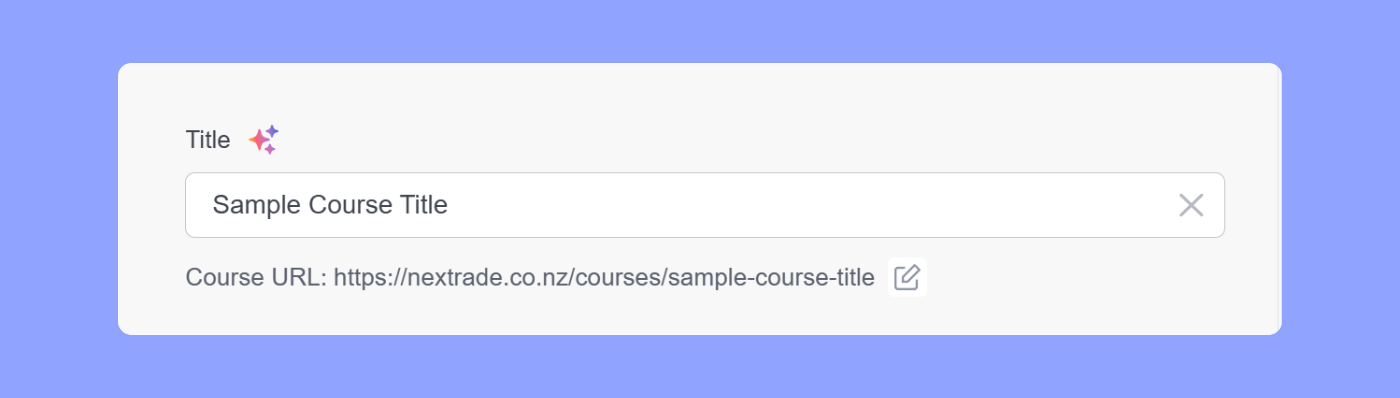
Set a clear, concise course title. The course URL is generated from the title but can be edited manually.
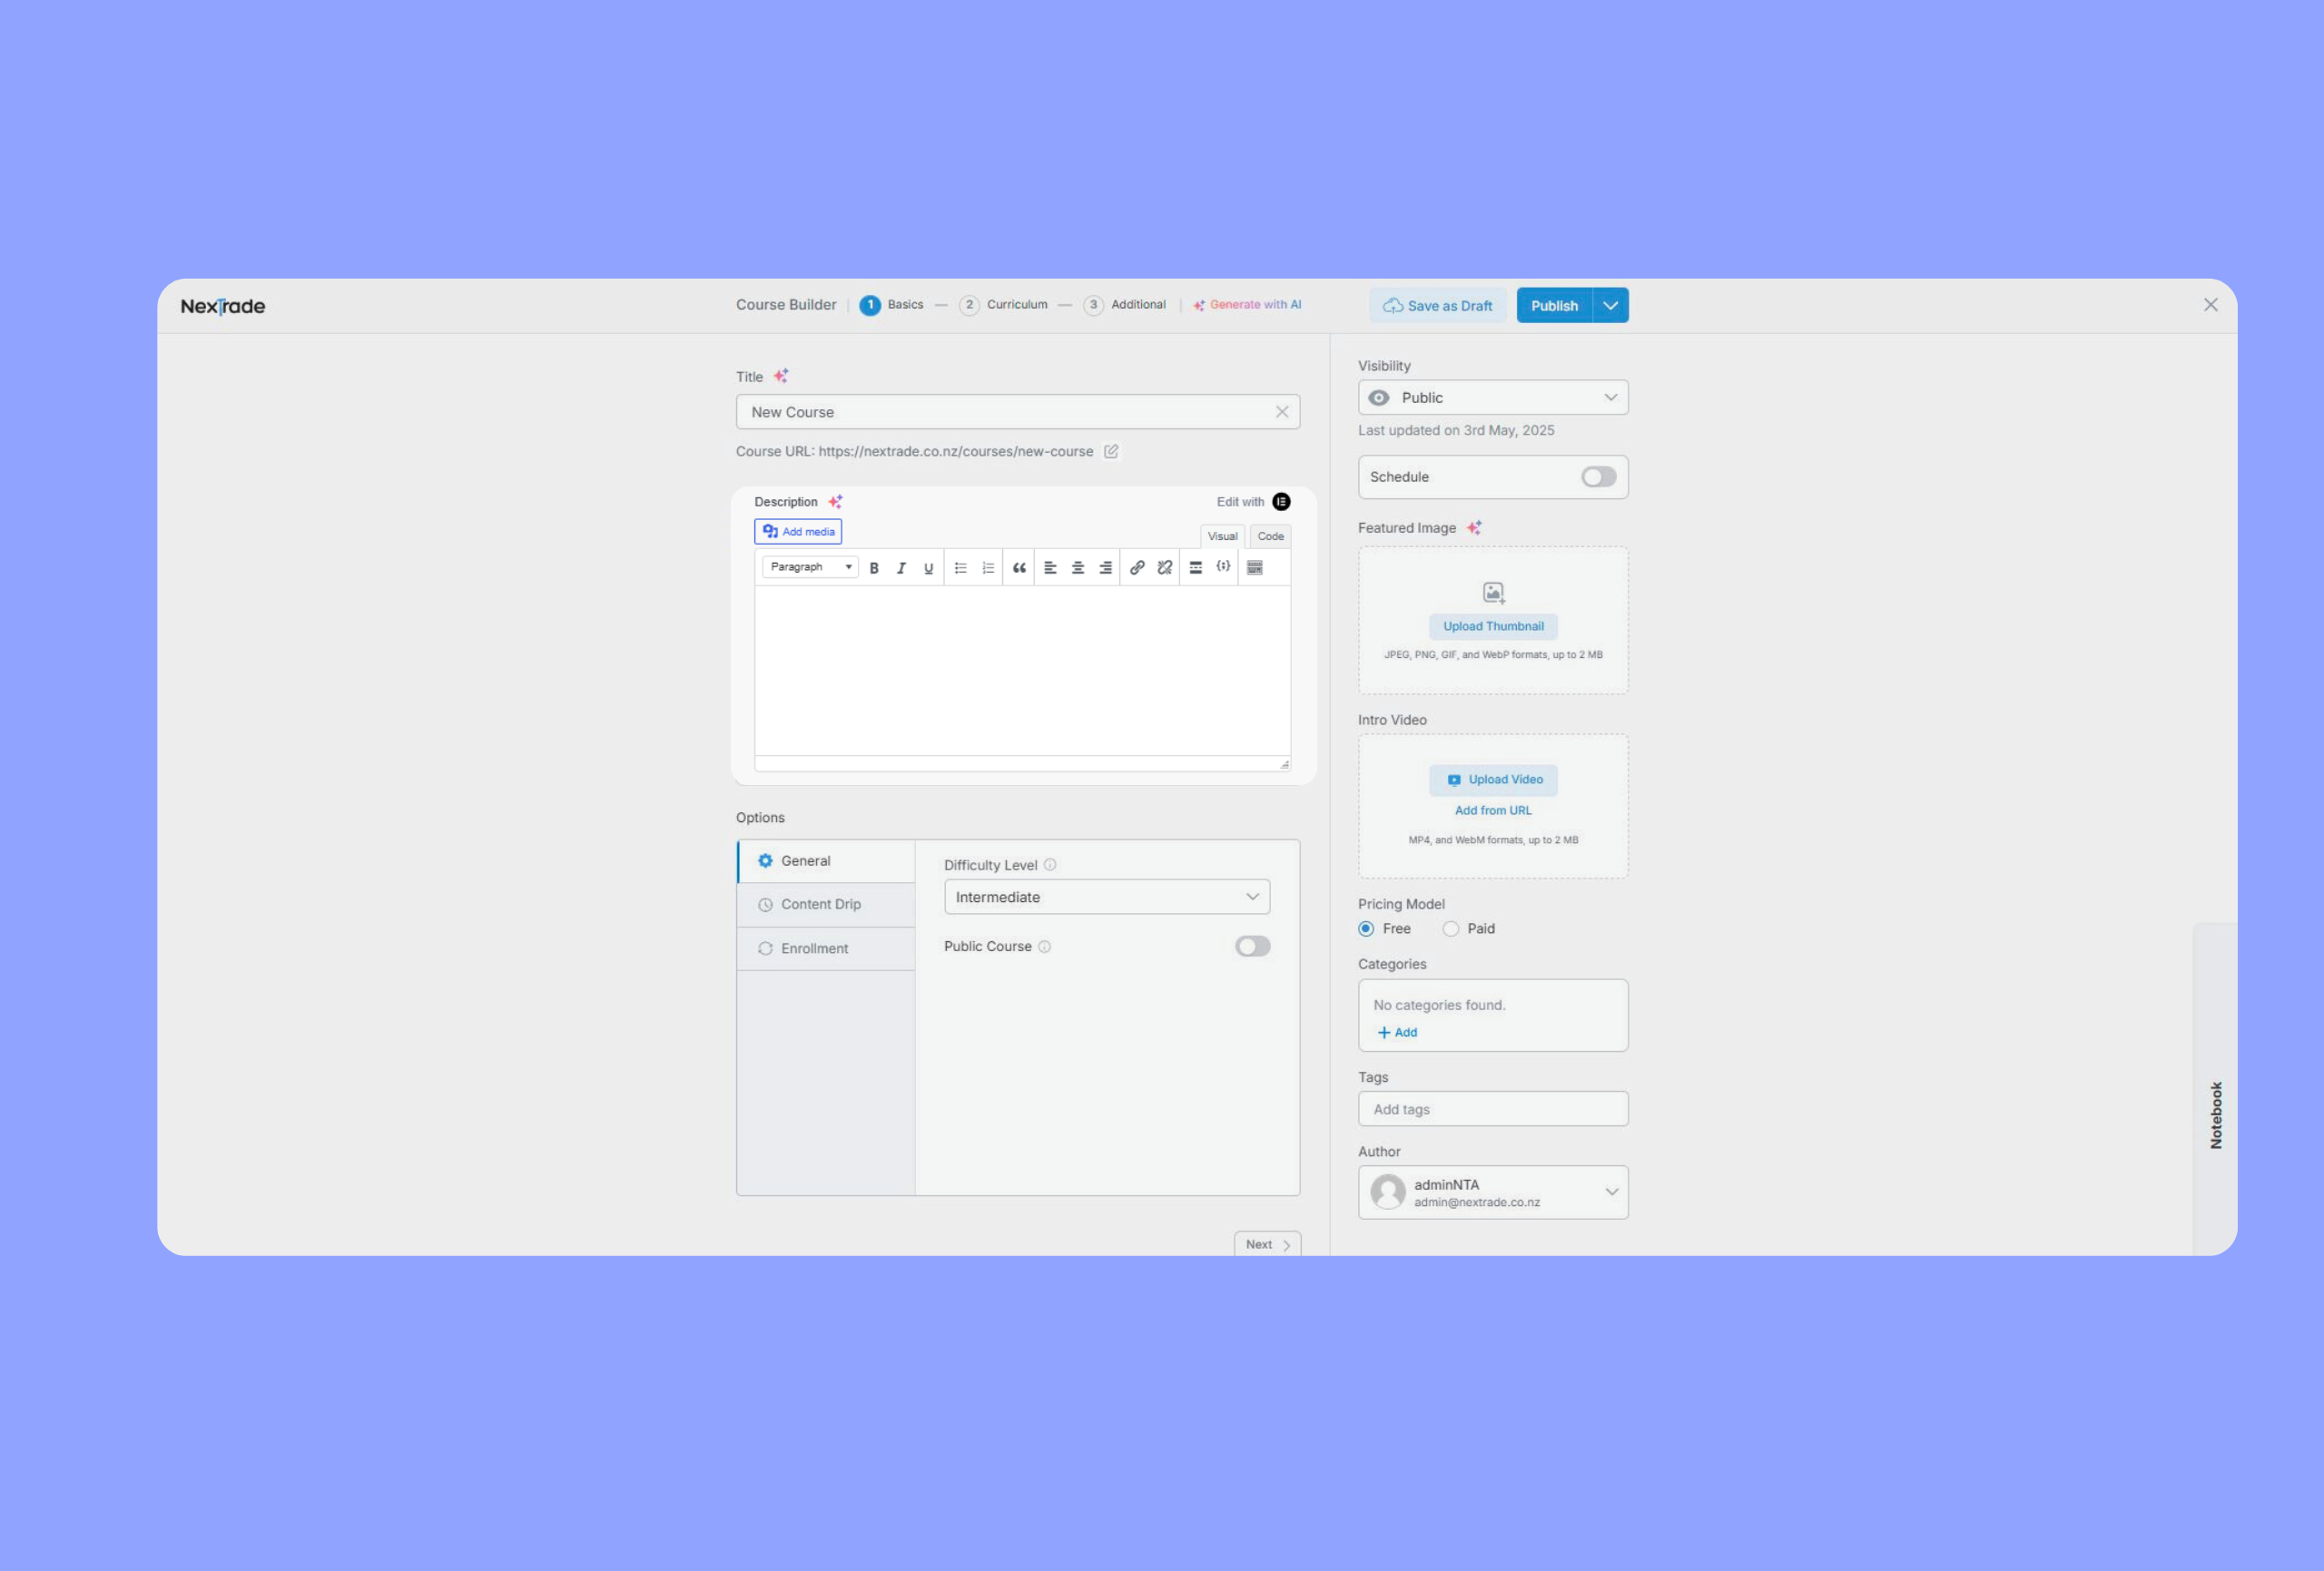
Course Description
Provide a concise summary of what the course covers and the outcomes. Use headings, bullet points, images, links, and formatted text to enhance clarity and engagement.
Course Settings Overview
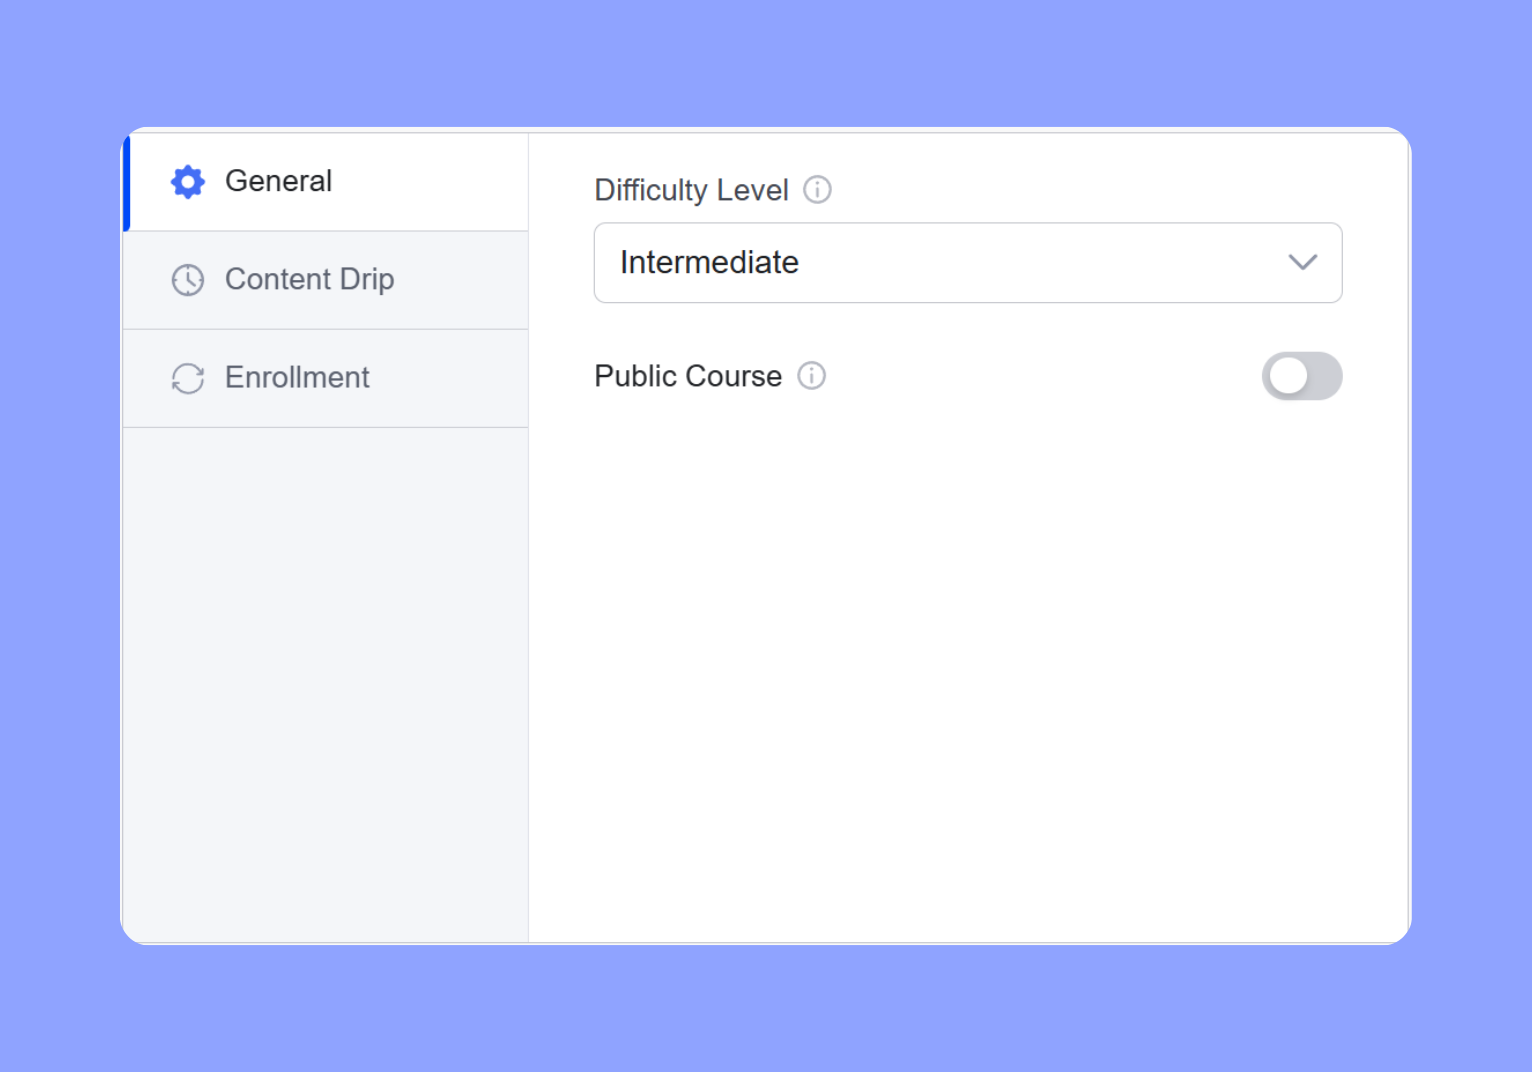
General Settings:
-
Maximum Students: Limit enrollment (set to 0 for unlimited).
-
Difficulty Level: Choose from All Levels, Beginner, Intermediate, Expert.
-
Public Course: Enable to make the course accessible without login.
Content Drip #
The Content Drip feature allows you to release course content gradually over time, rather than making everything available at once.
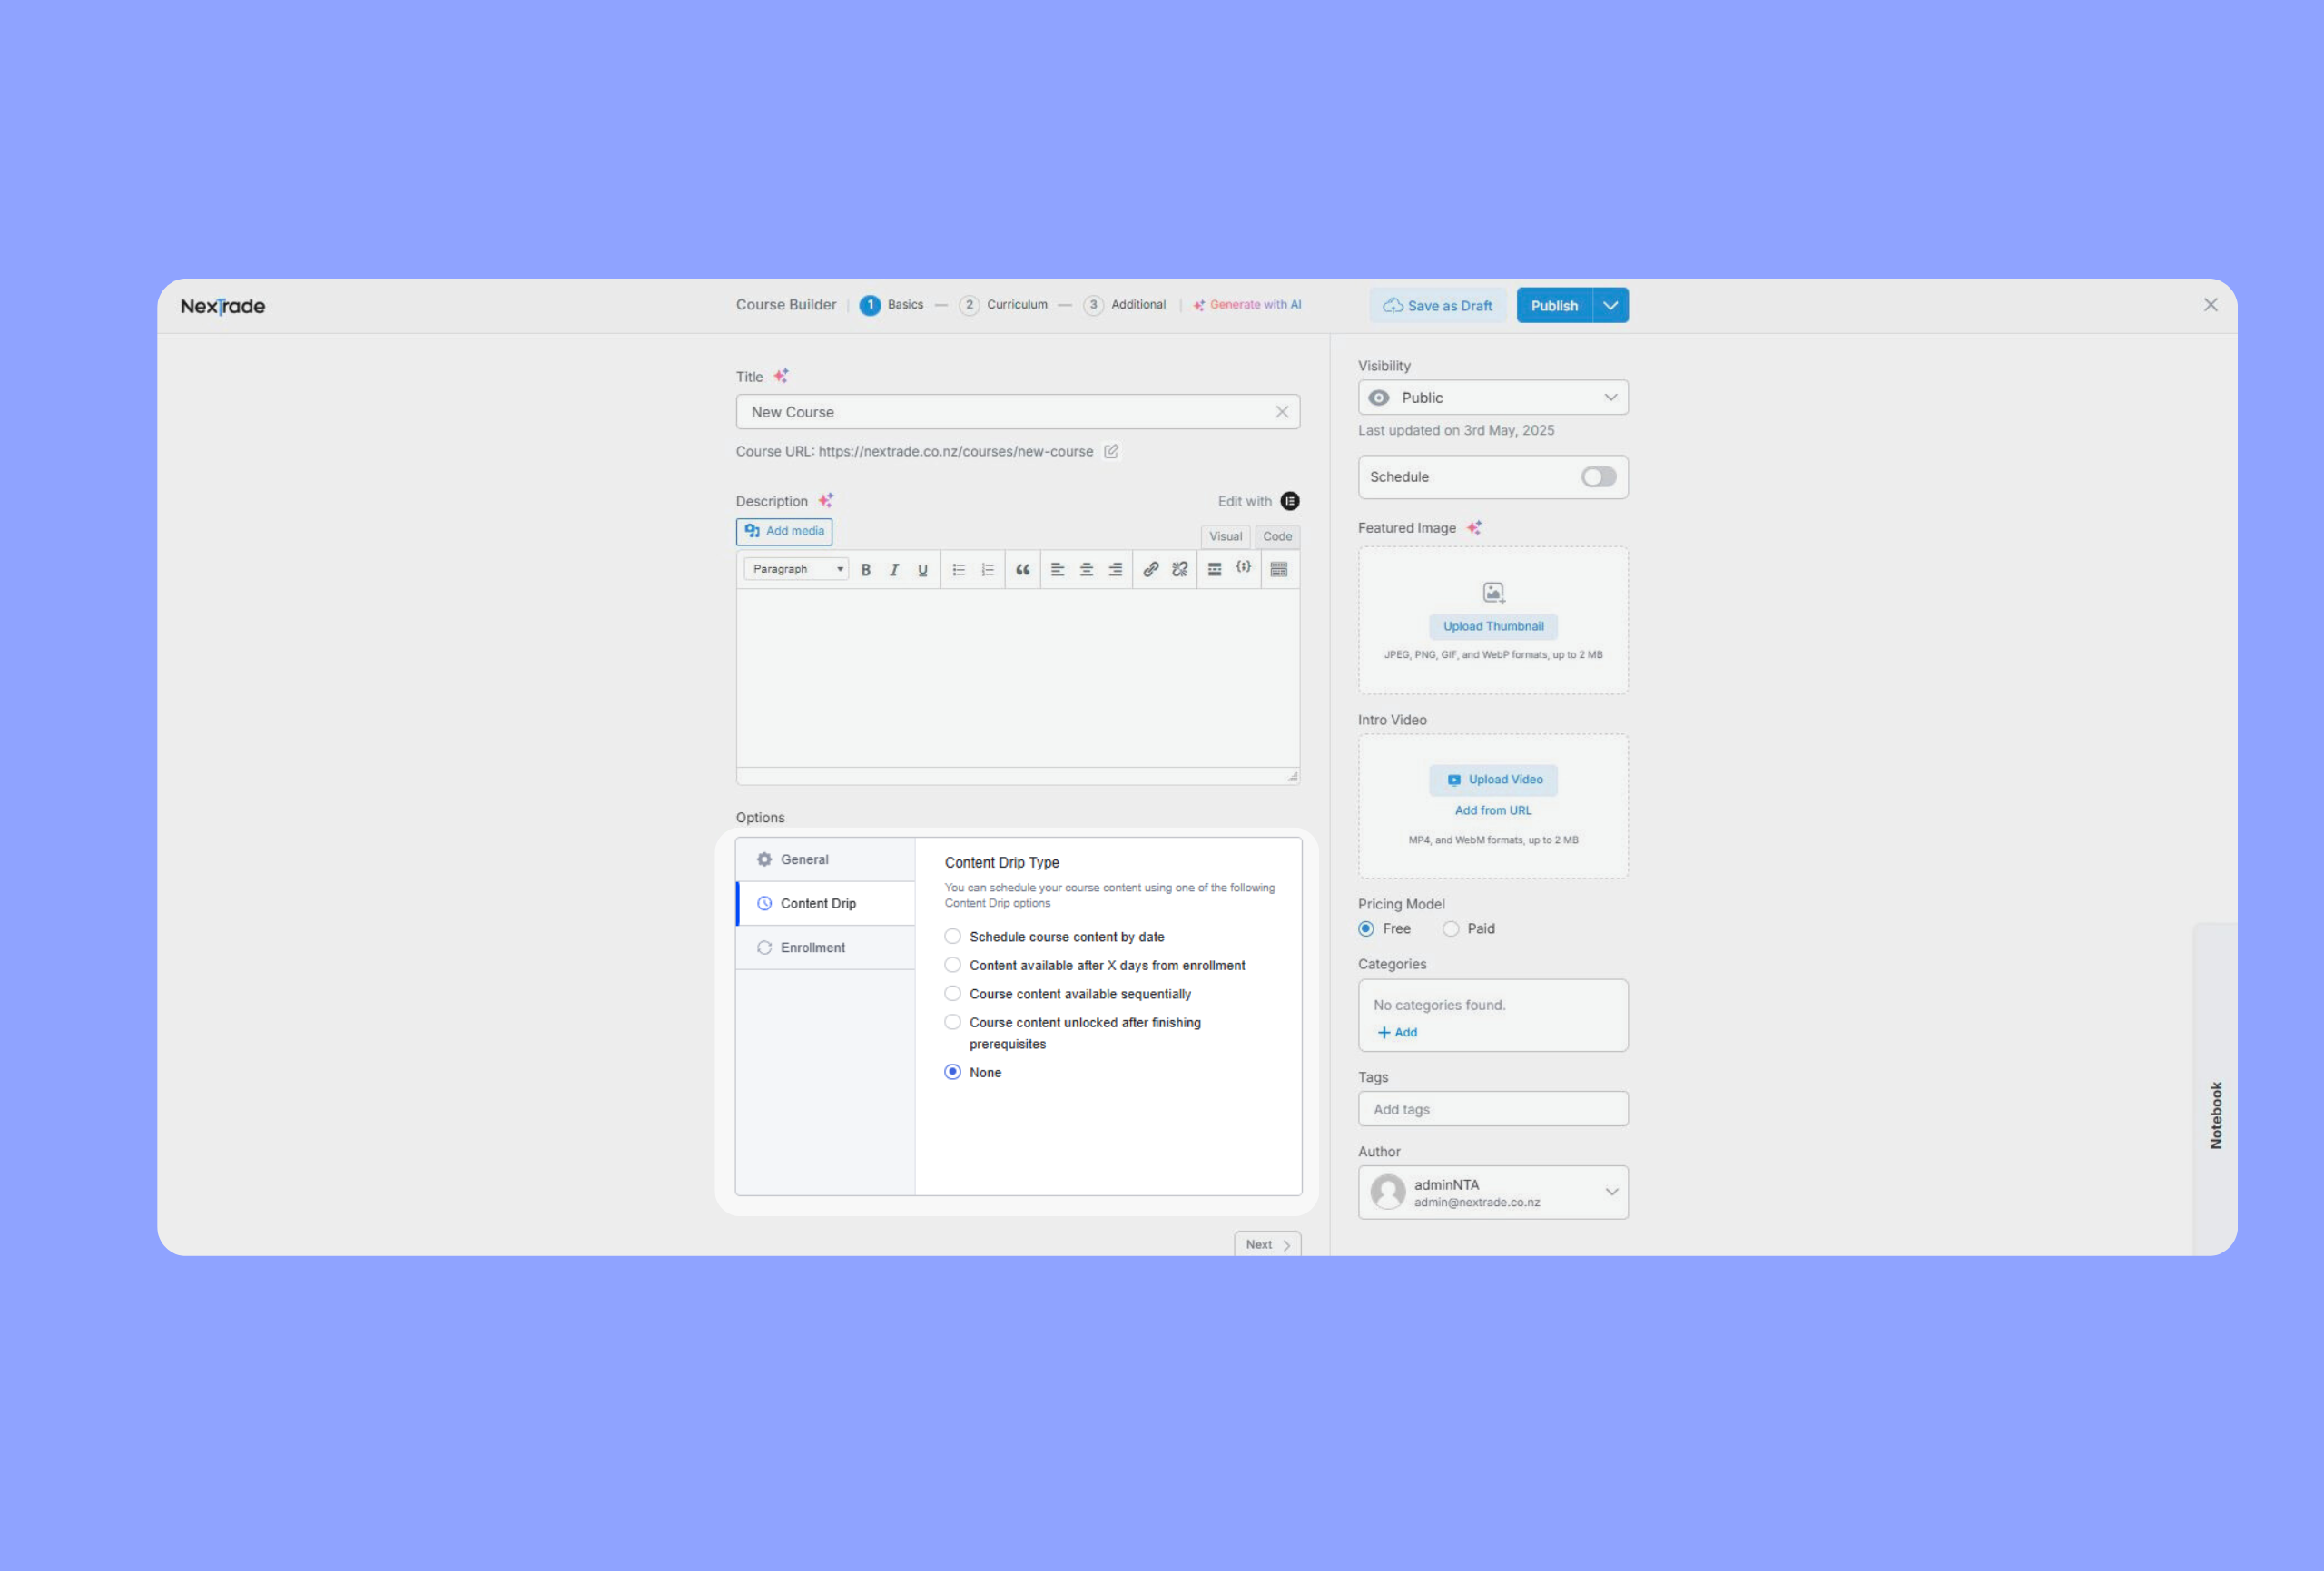
Content Drip Options:
-
Release content on specific dates.
-
Release content X days after enrollment.
-
Sequential unlocking.
-
Unlock content after completing prerequisites.
Note: Enable Content Drip in NexTrade Pro > Add-ons.
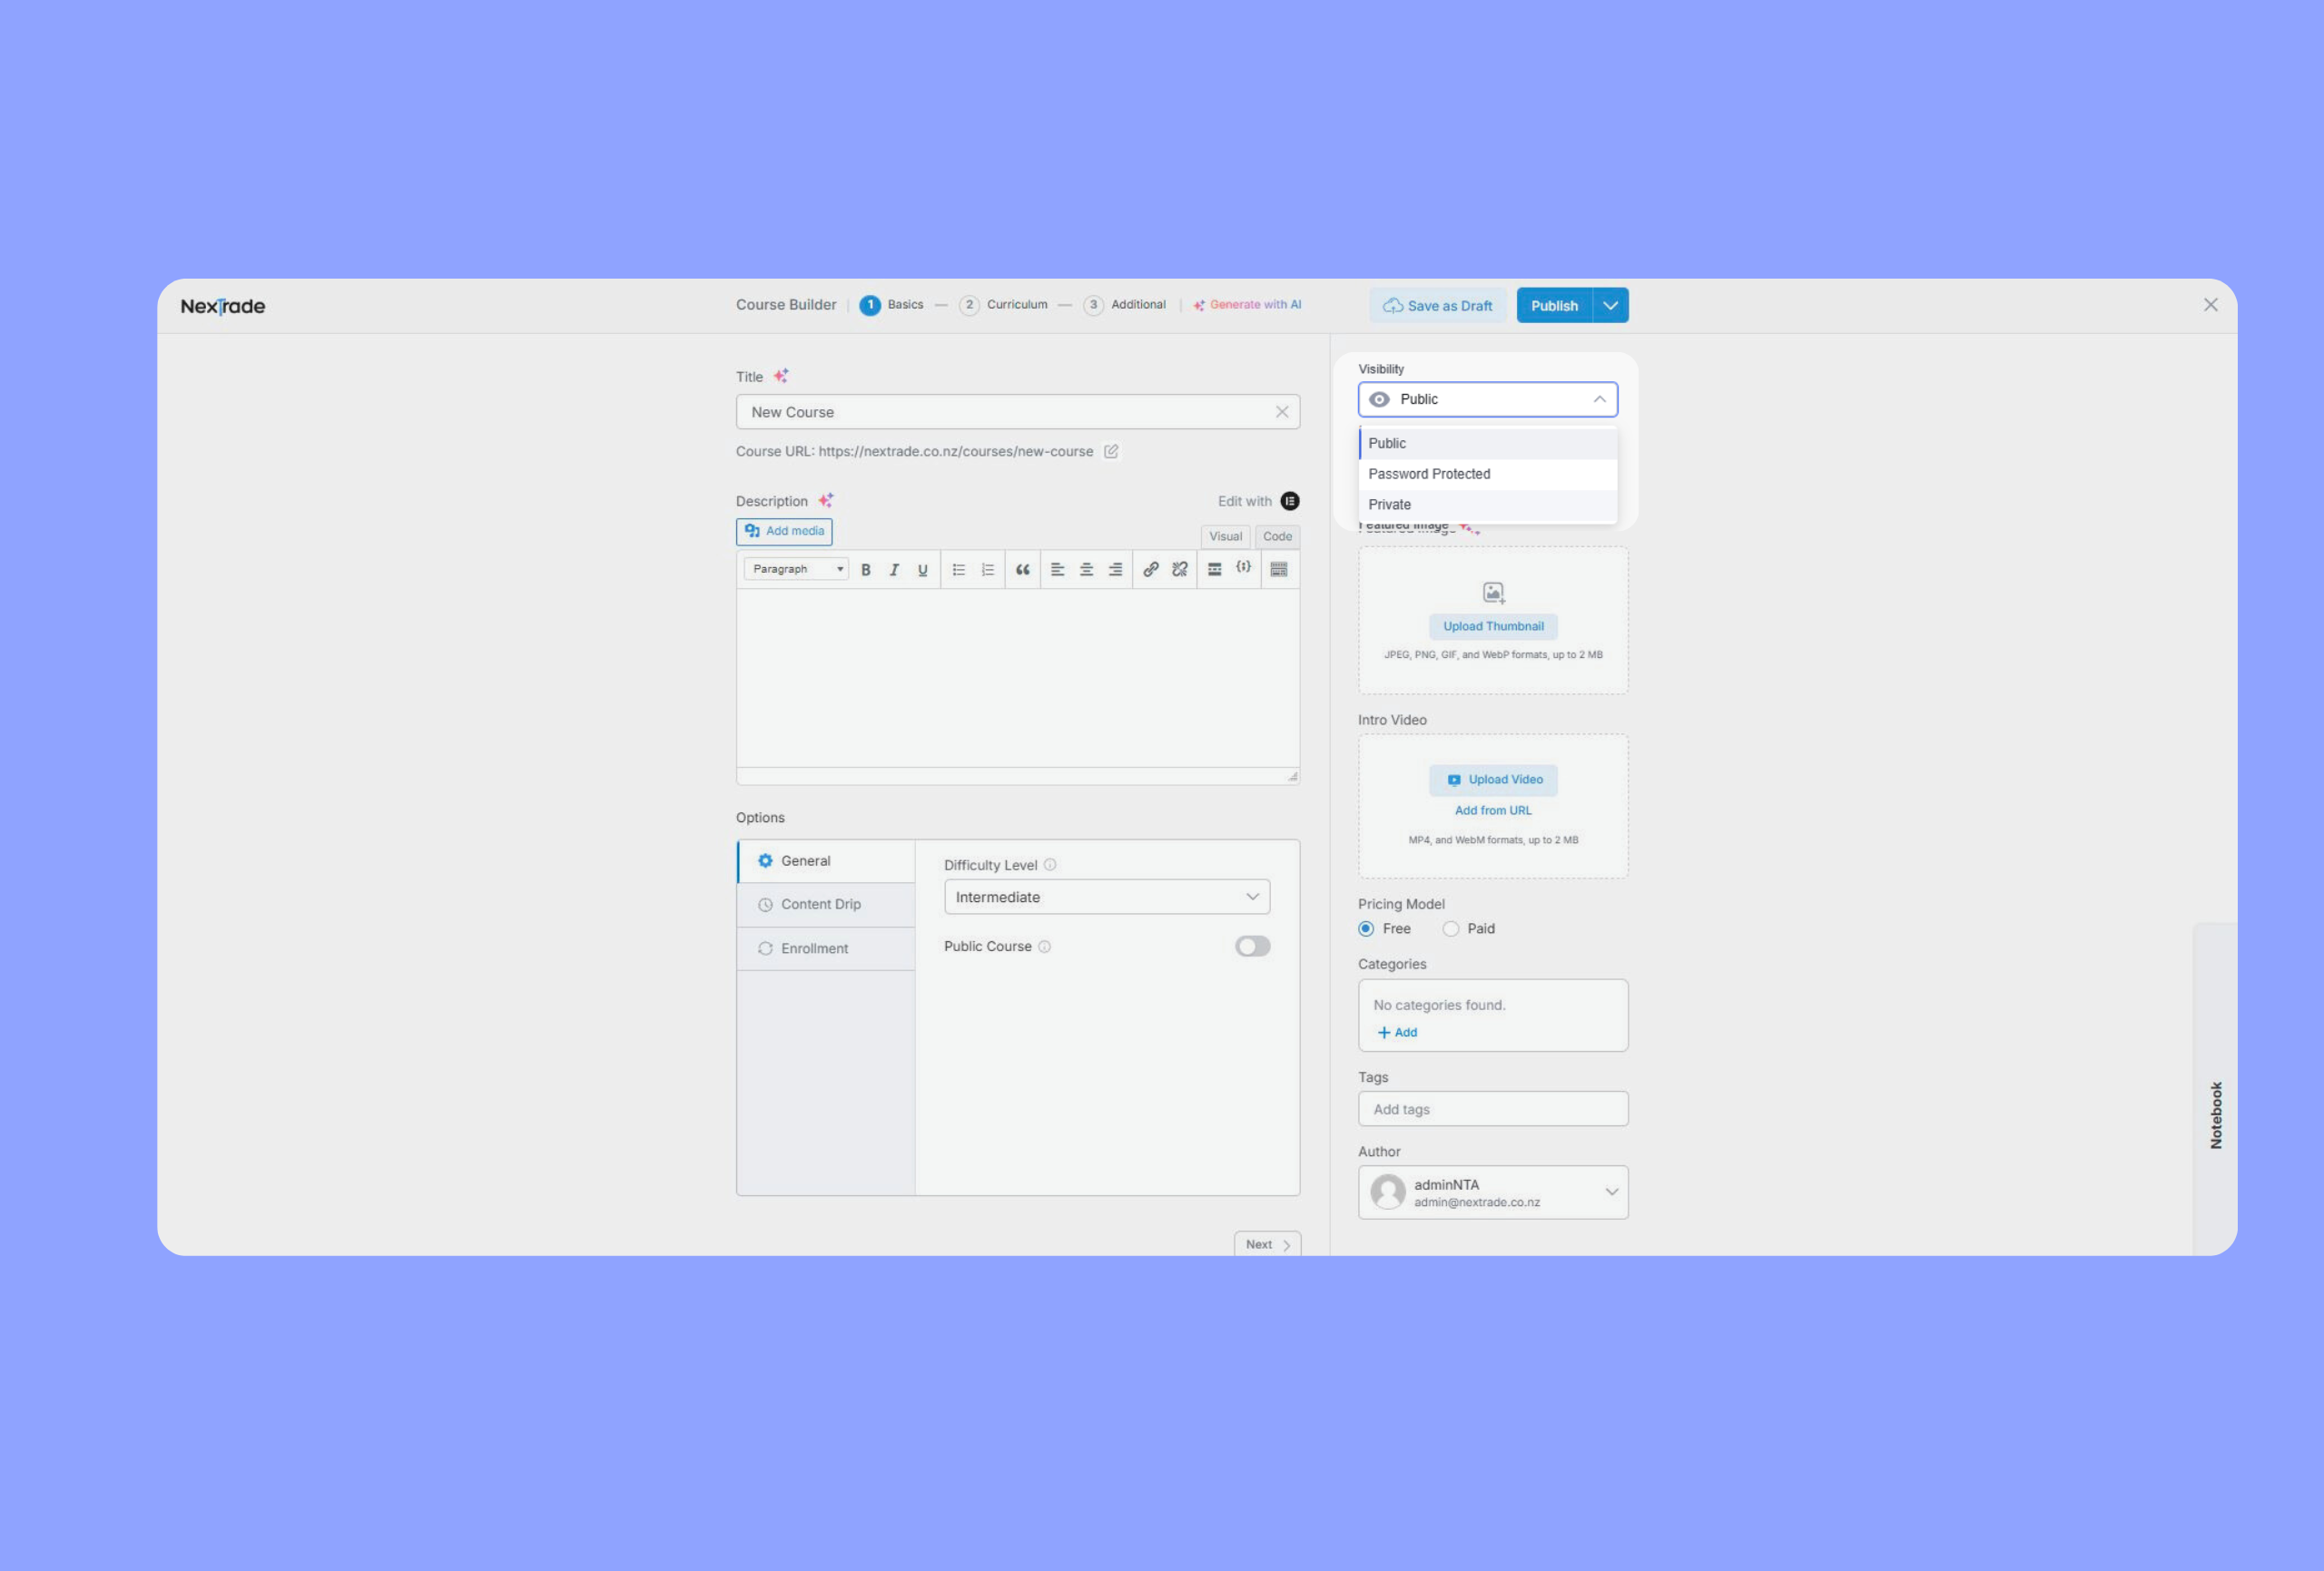
Course Visibility Options:
-
Public: Open to everyone.
-
Password Protected: Accessible only with a password.
-
Private: Only enrolled students and admins can view.
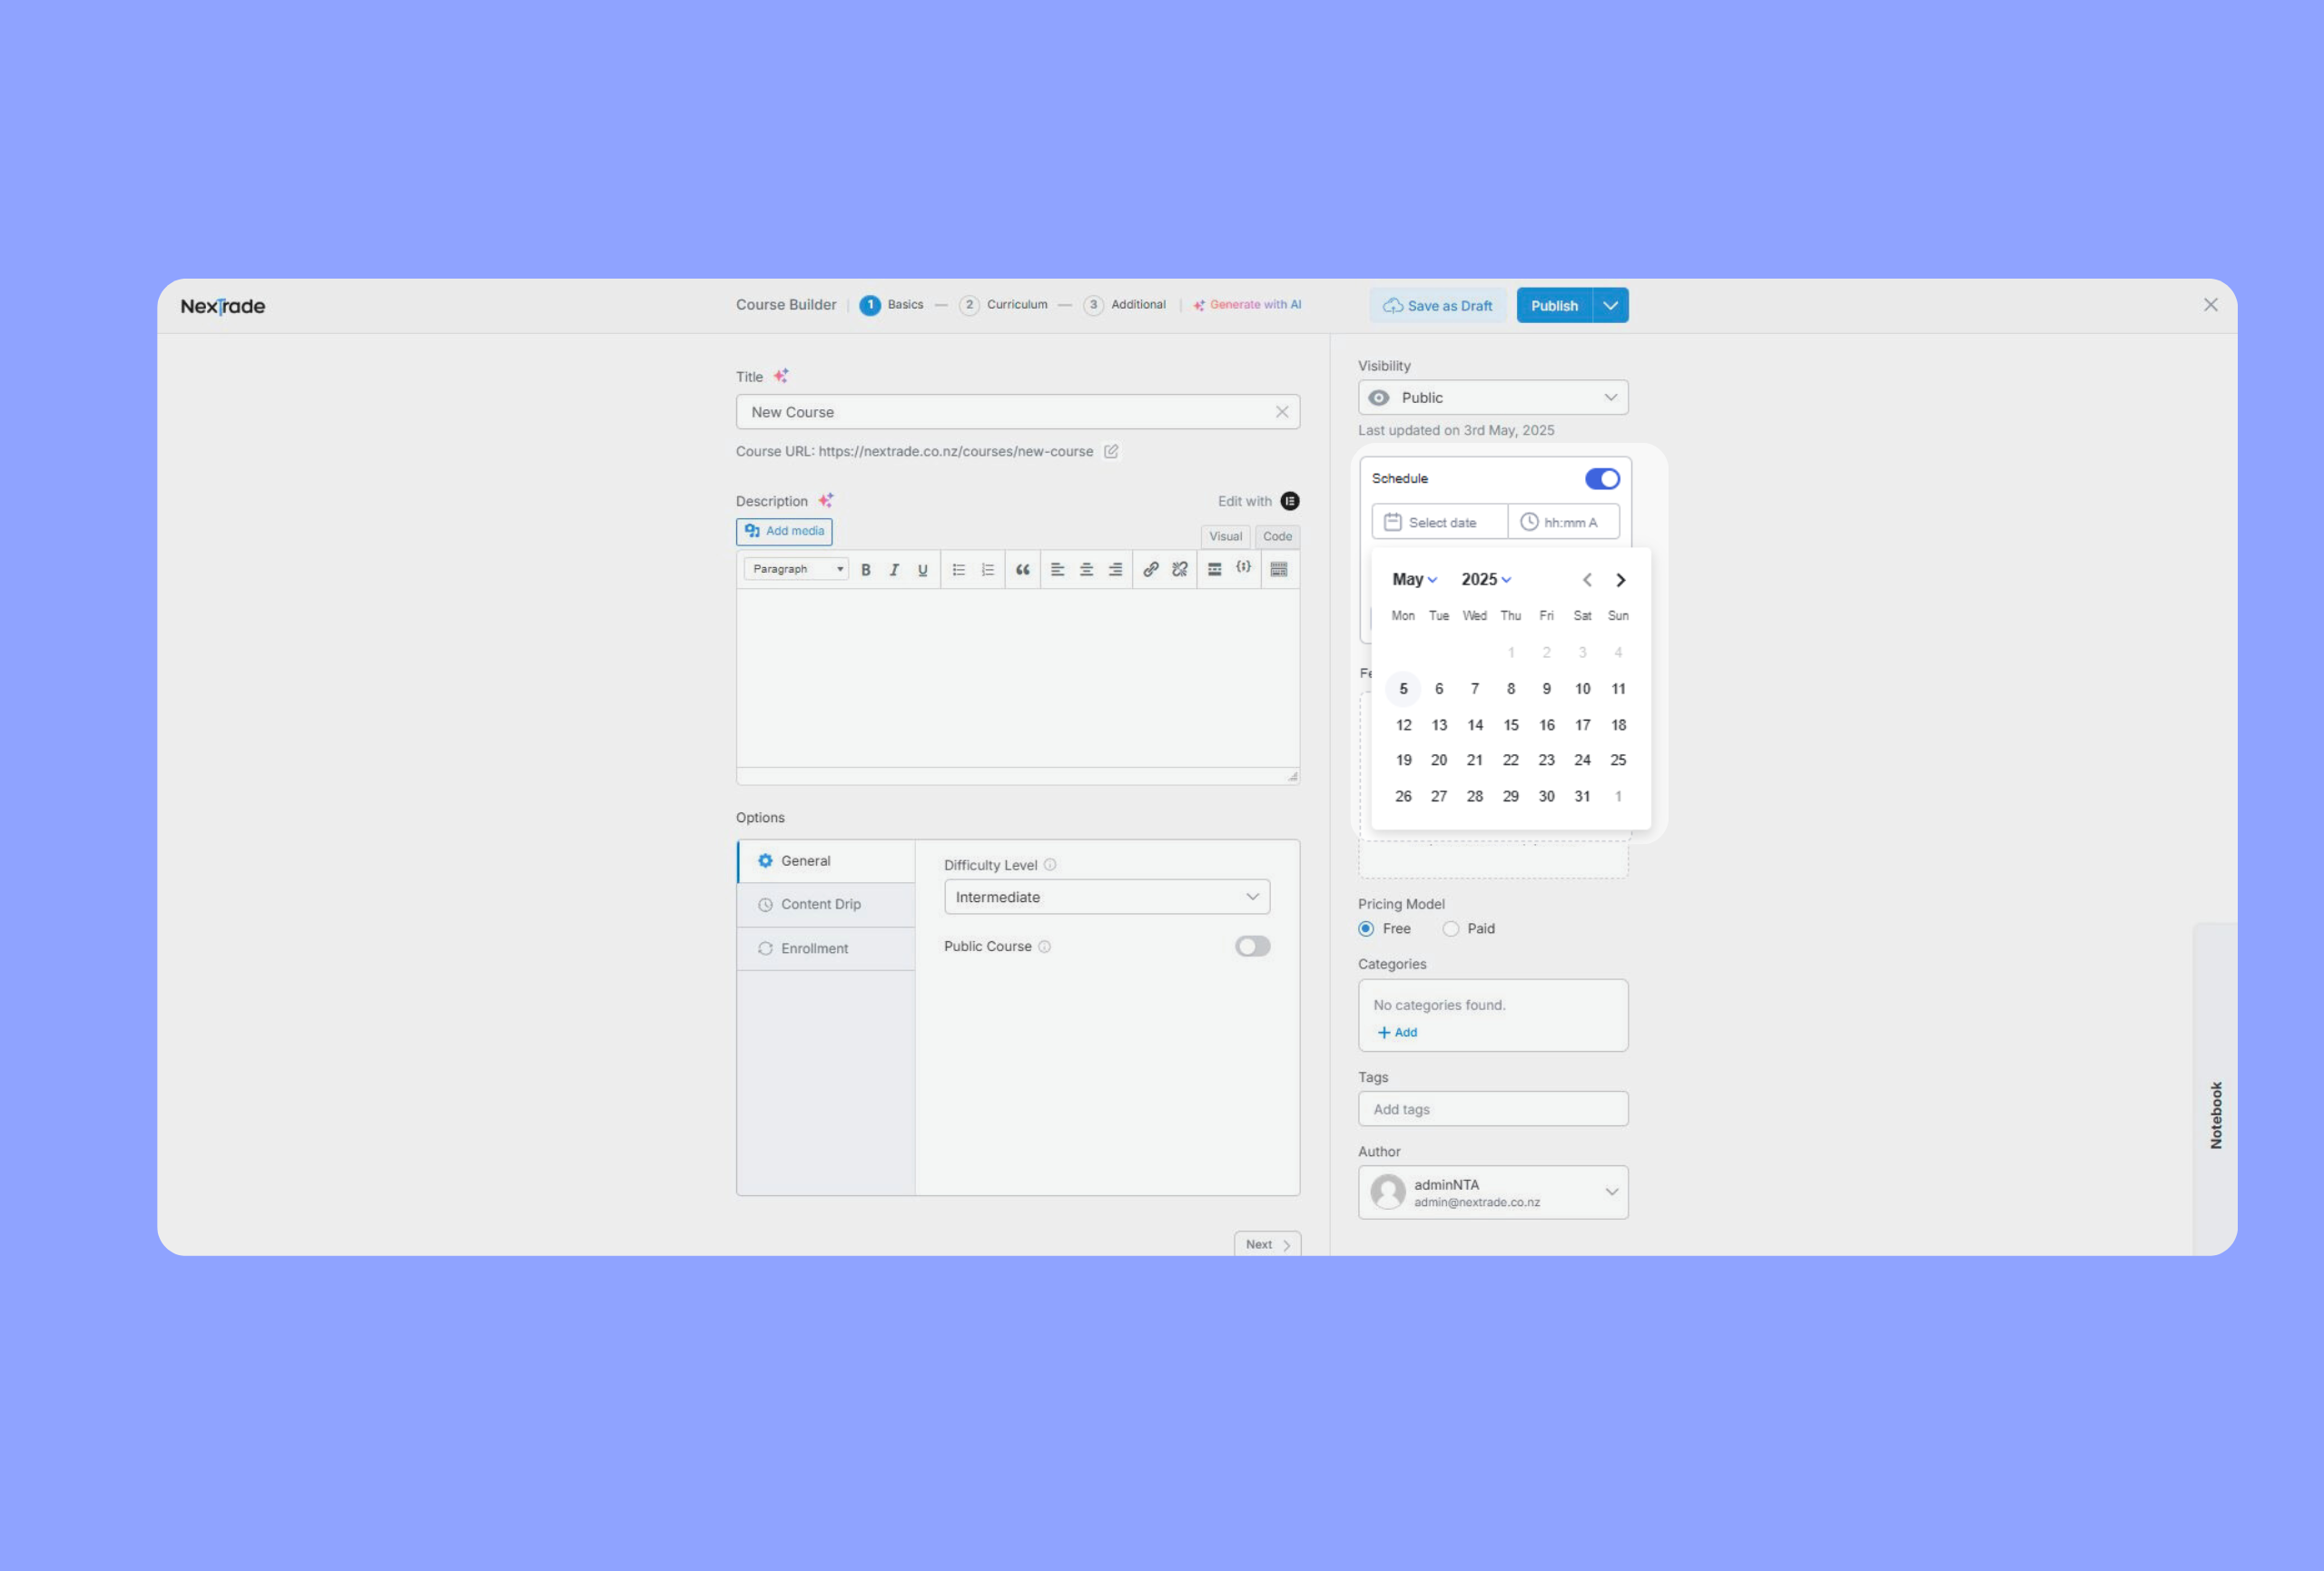
Course Scheduling:
-
Toggle on “Schedule.”
-
Select a date and time.
-
Click “Ok” to confirm.
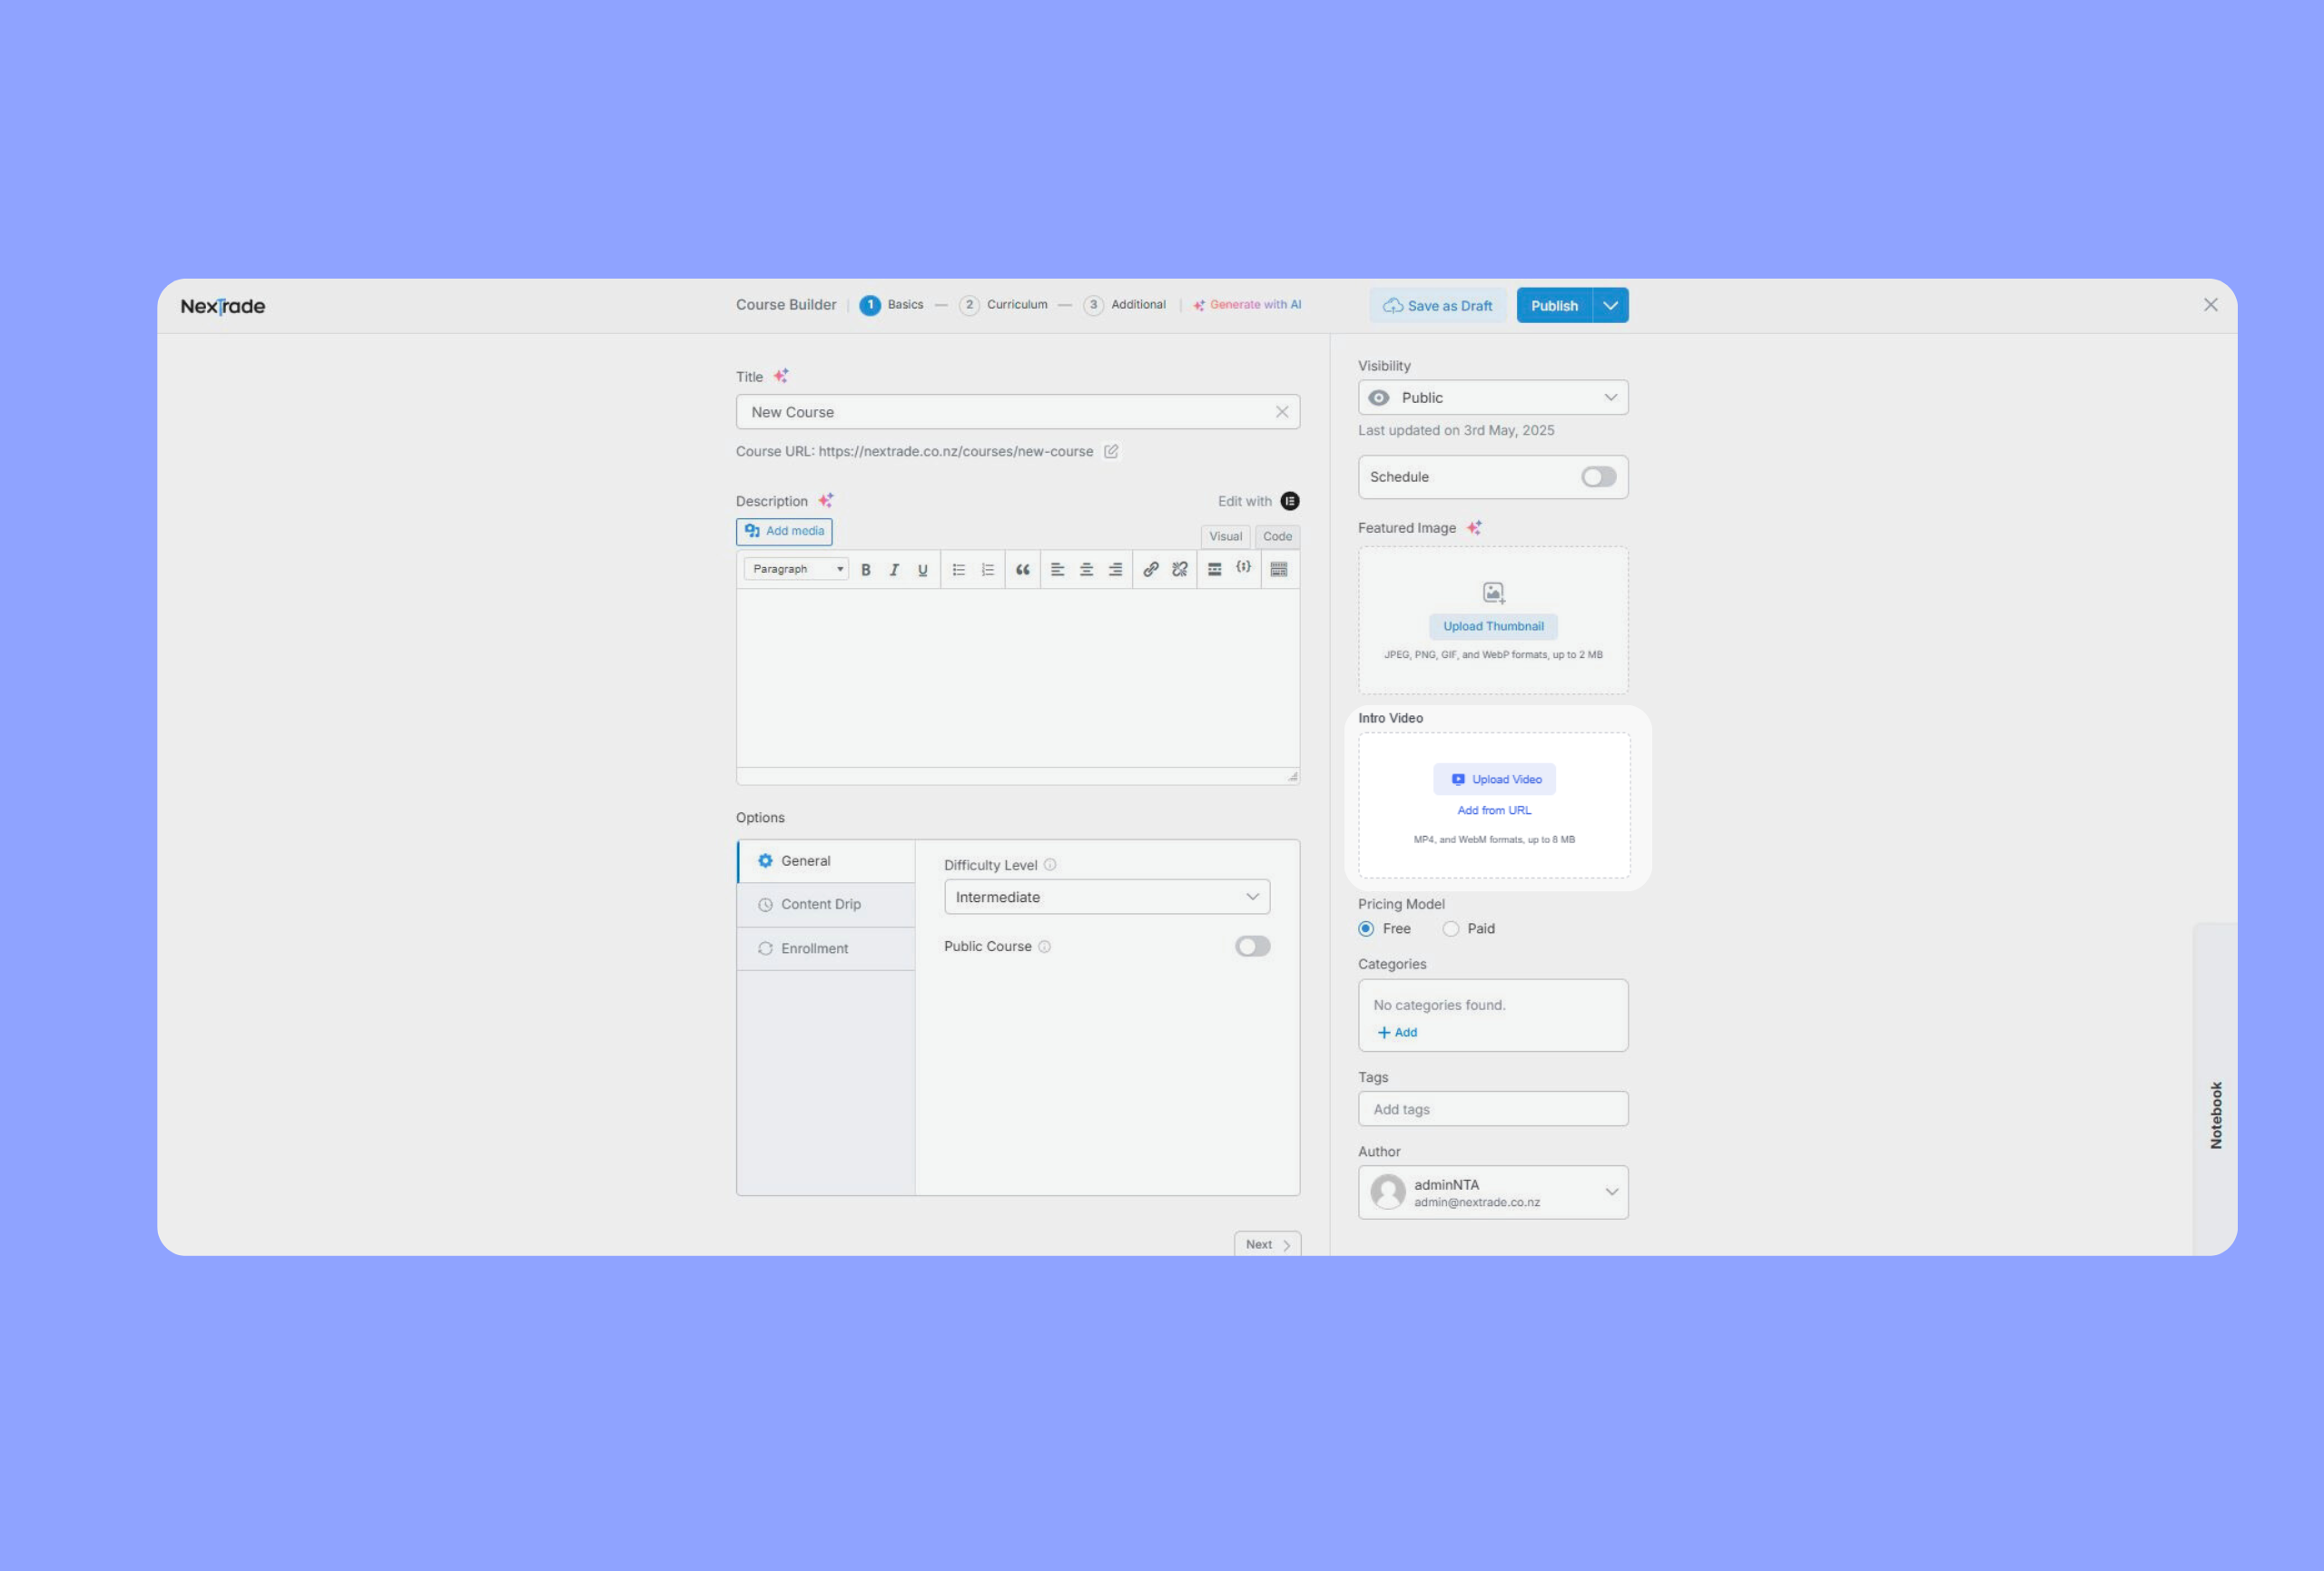
Media Settings
Featured Image:
Upload or select an image from your media library. This appears on course listings, catalog pages, and social shares.

Intro Video:
Add a welcome video.
-
Upload MP4/WebM files.
-
Or paste a YouTube/Vimeo URL.
Pricing Model
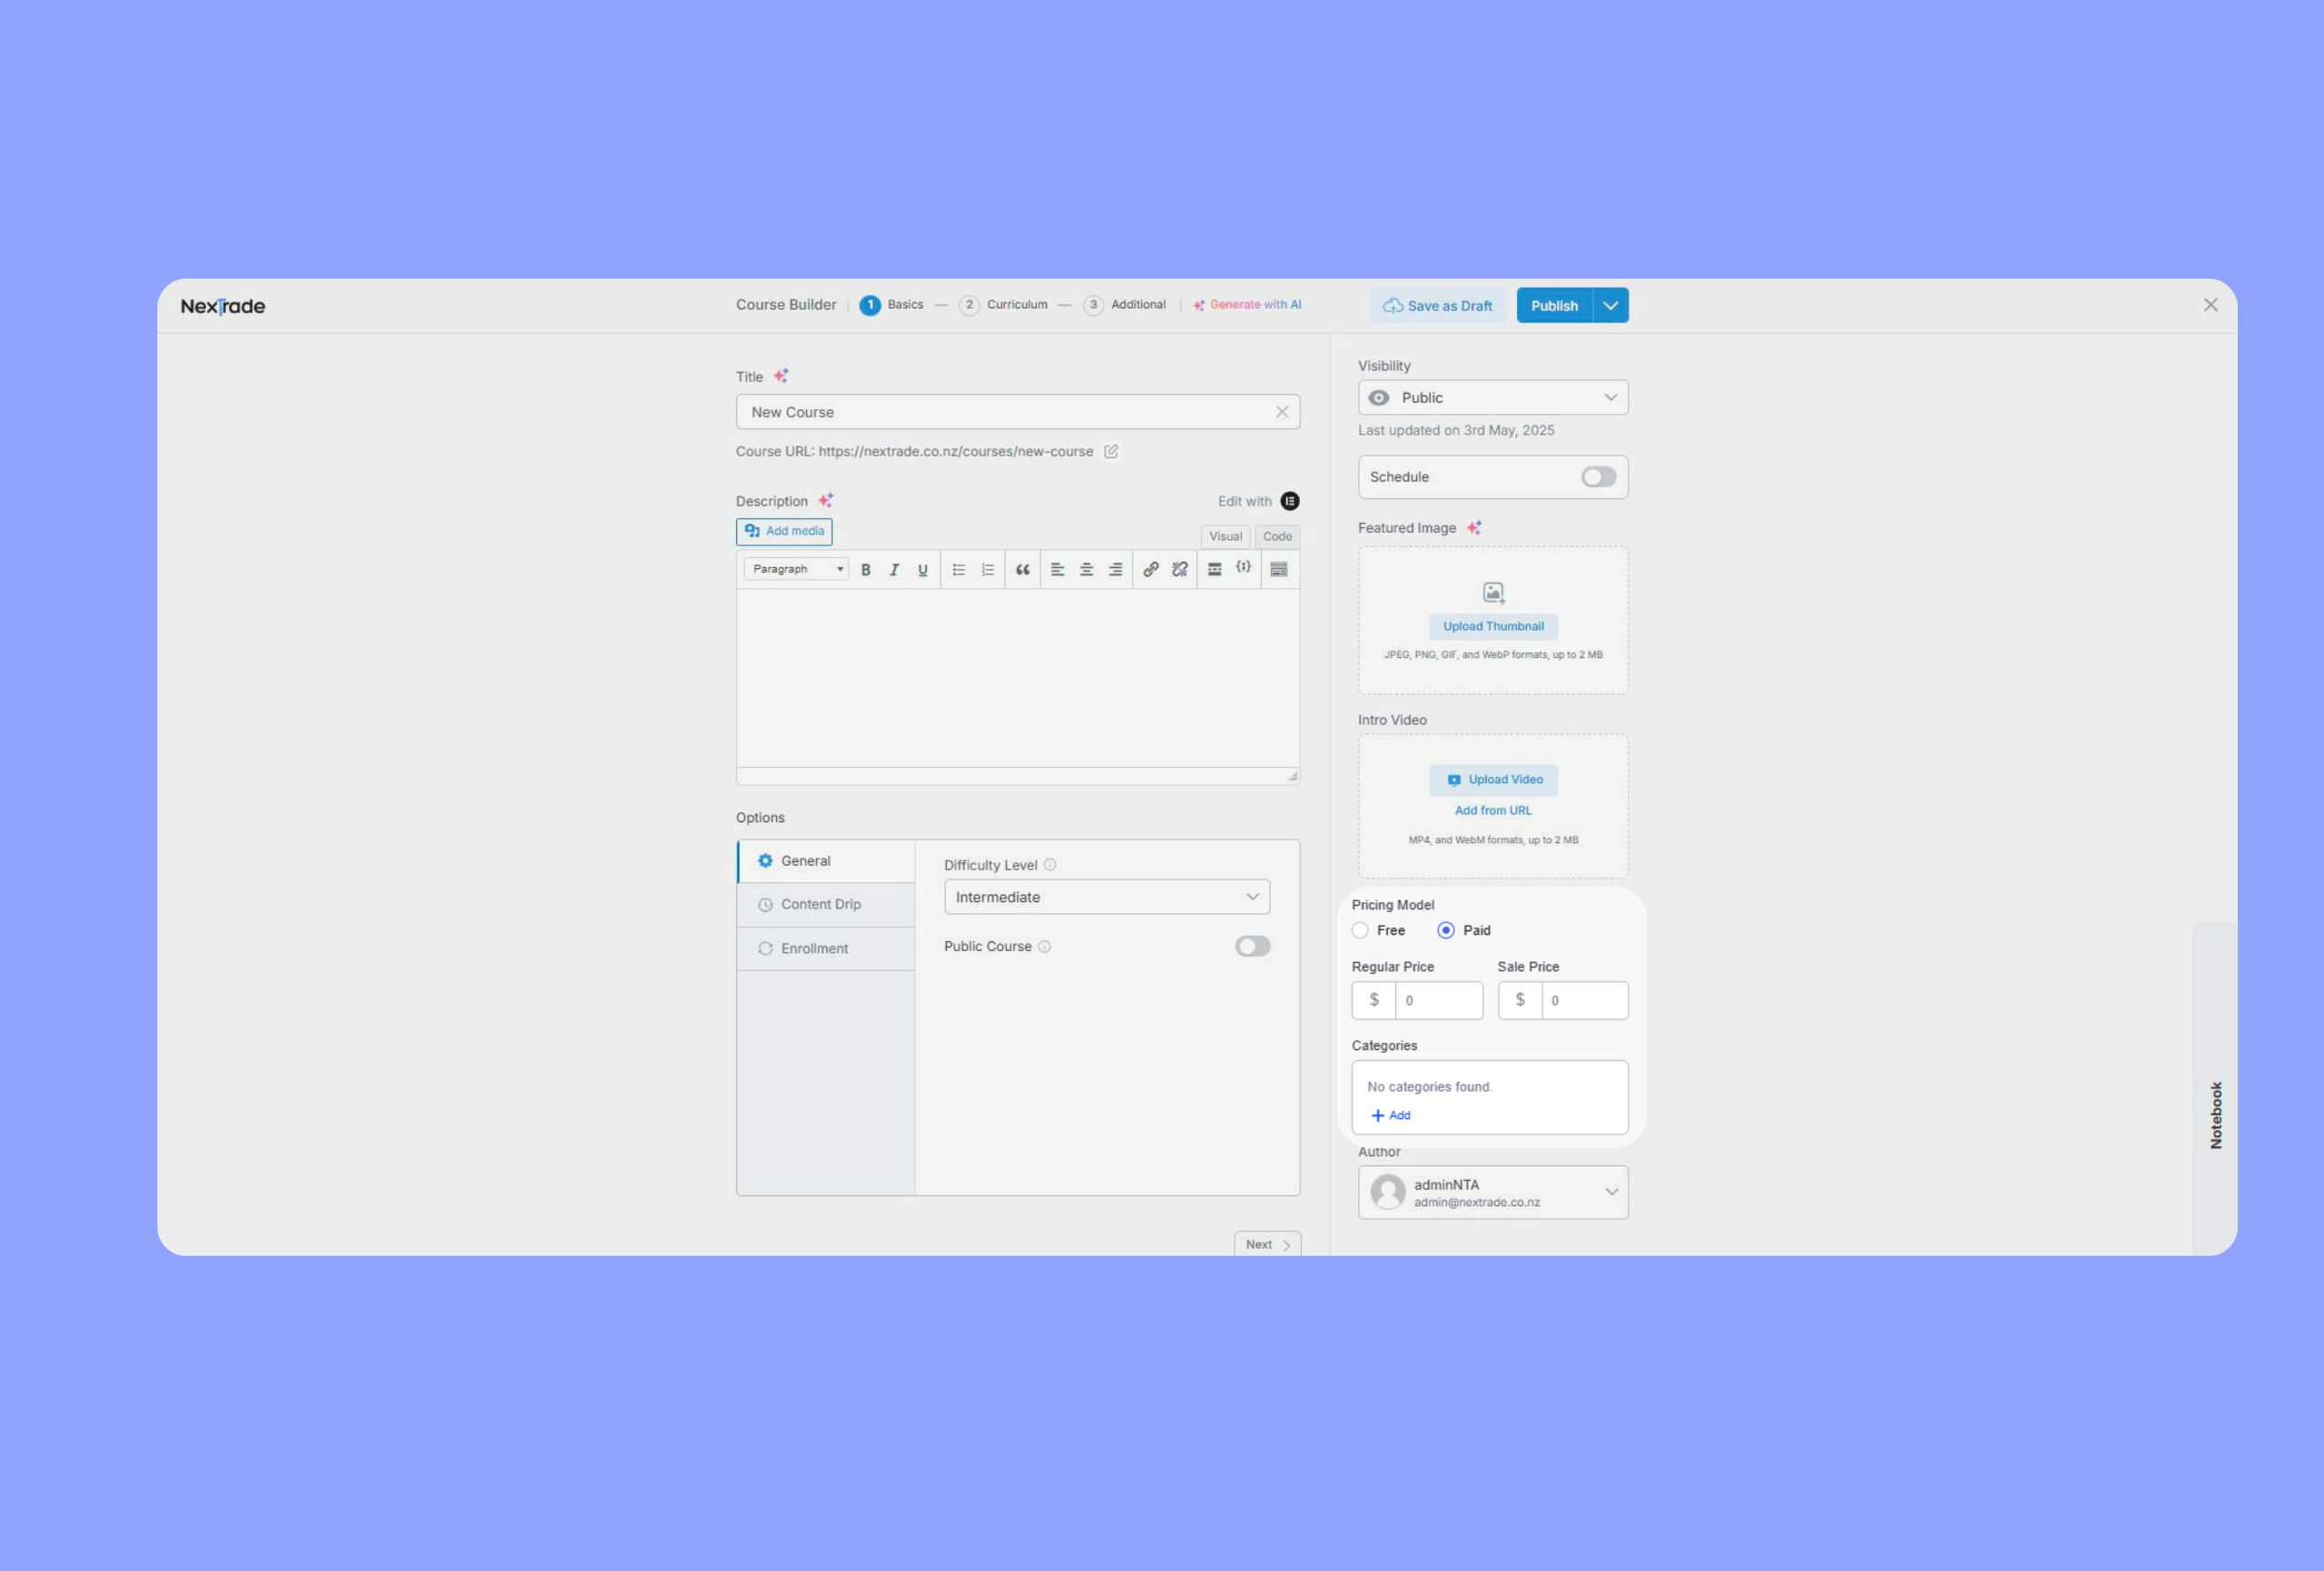
-
Free: No charge.
-
Paid: Set a regular and/or sale price.
-
Subscription: Use “Add Subscription” to include the course in a subscription package.
Categories
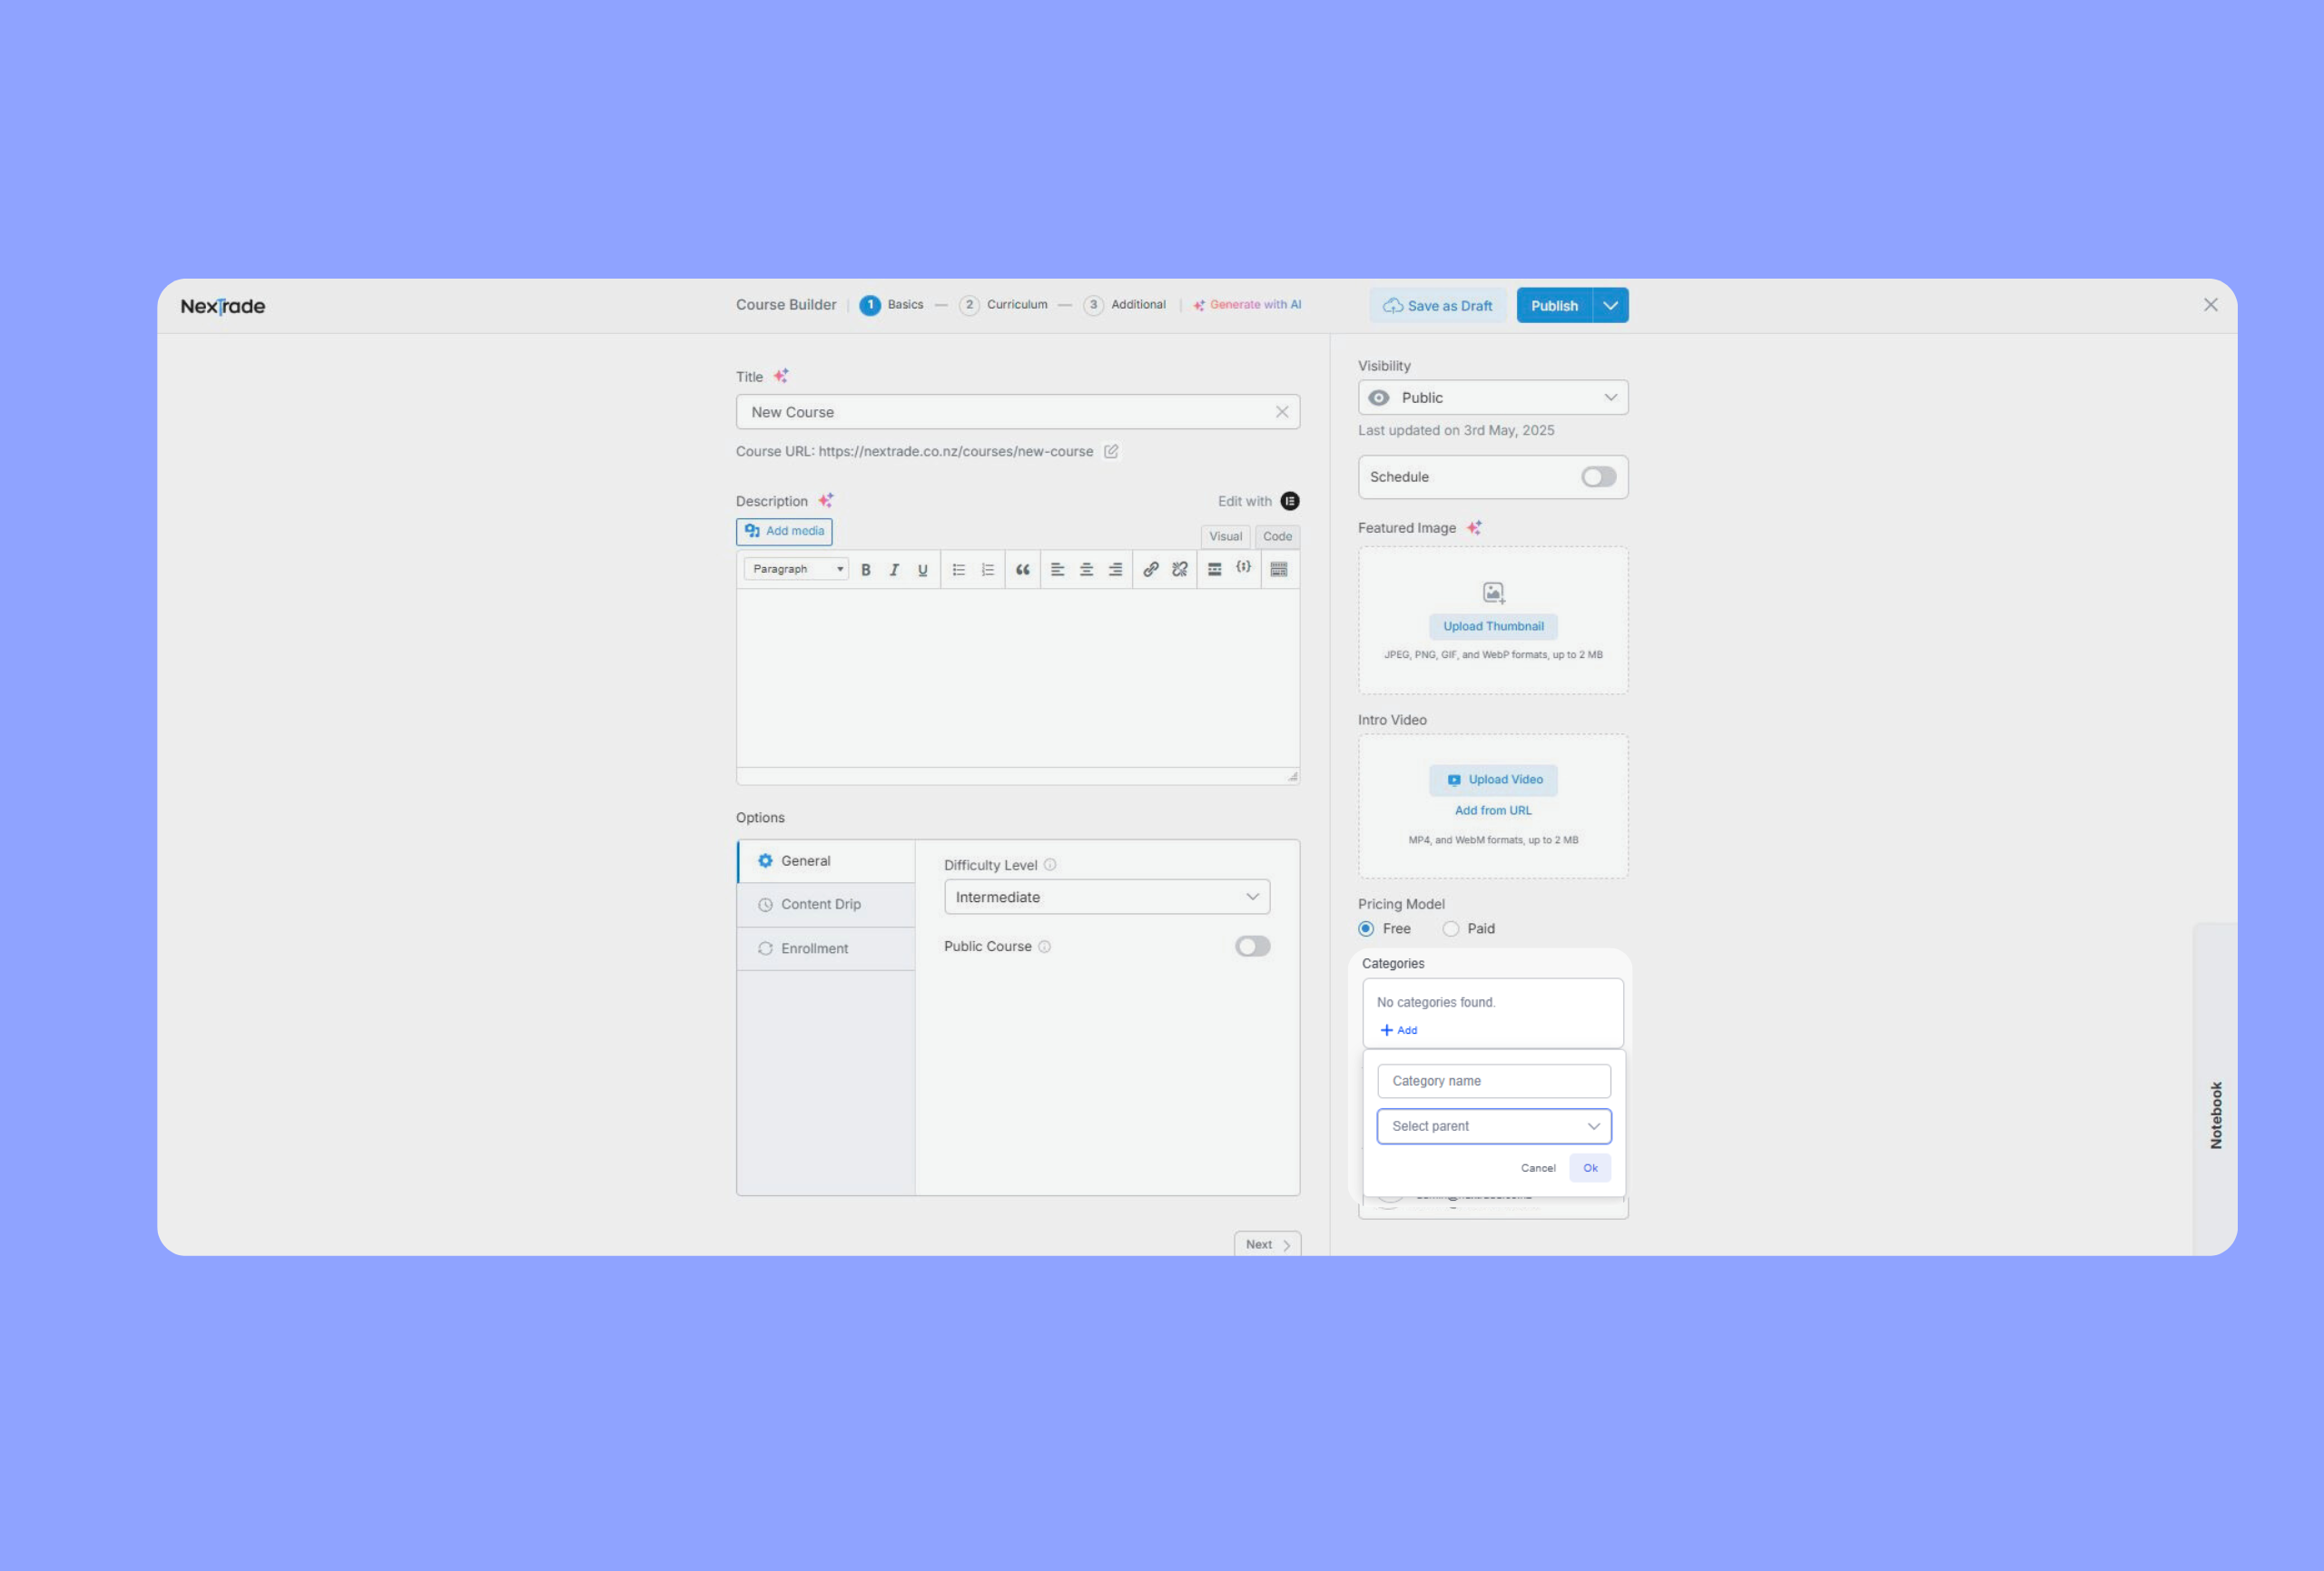
-
Click “+ Add.”
-
Enter a category name.
-
Optionally choose a parent category.
-
Click “Ok.”
Assign one or more categories to help students find courses easily.
Tags
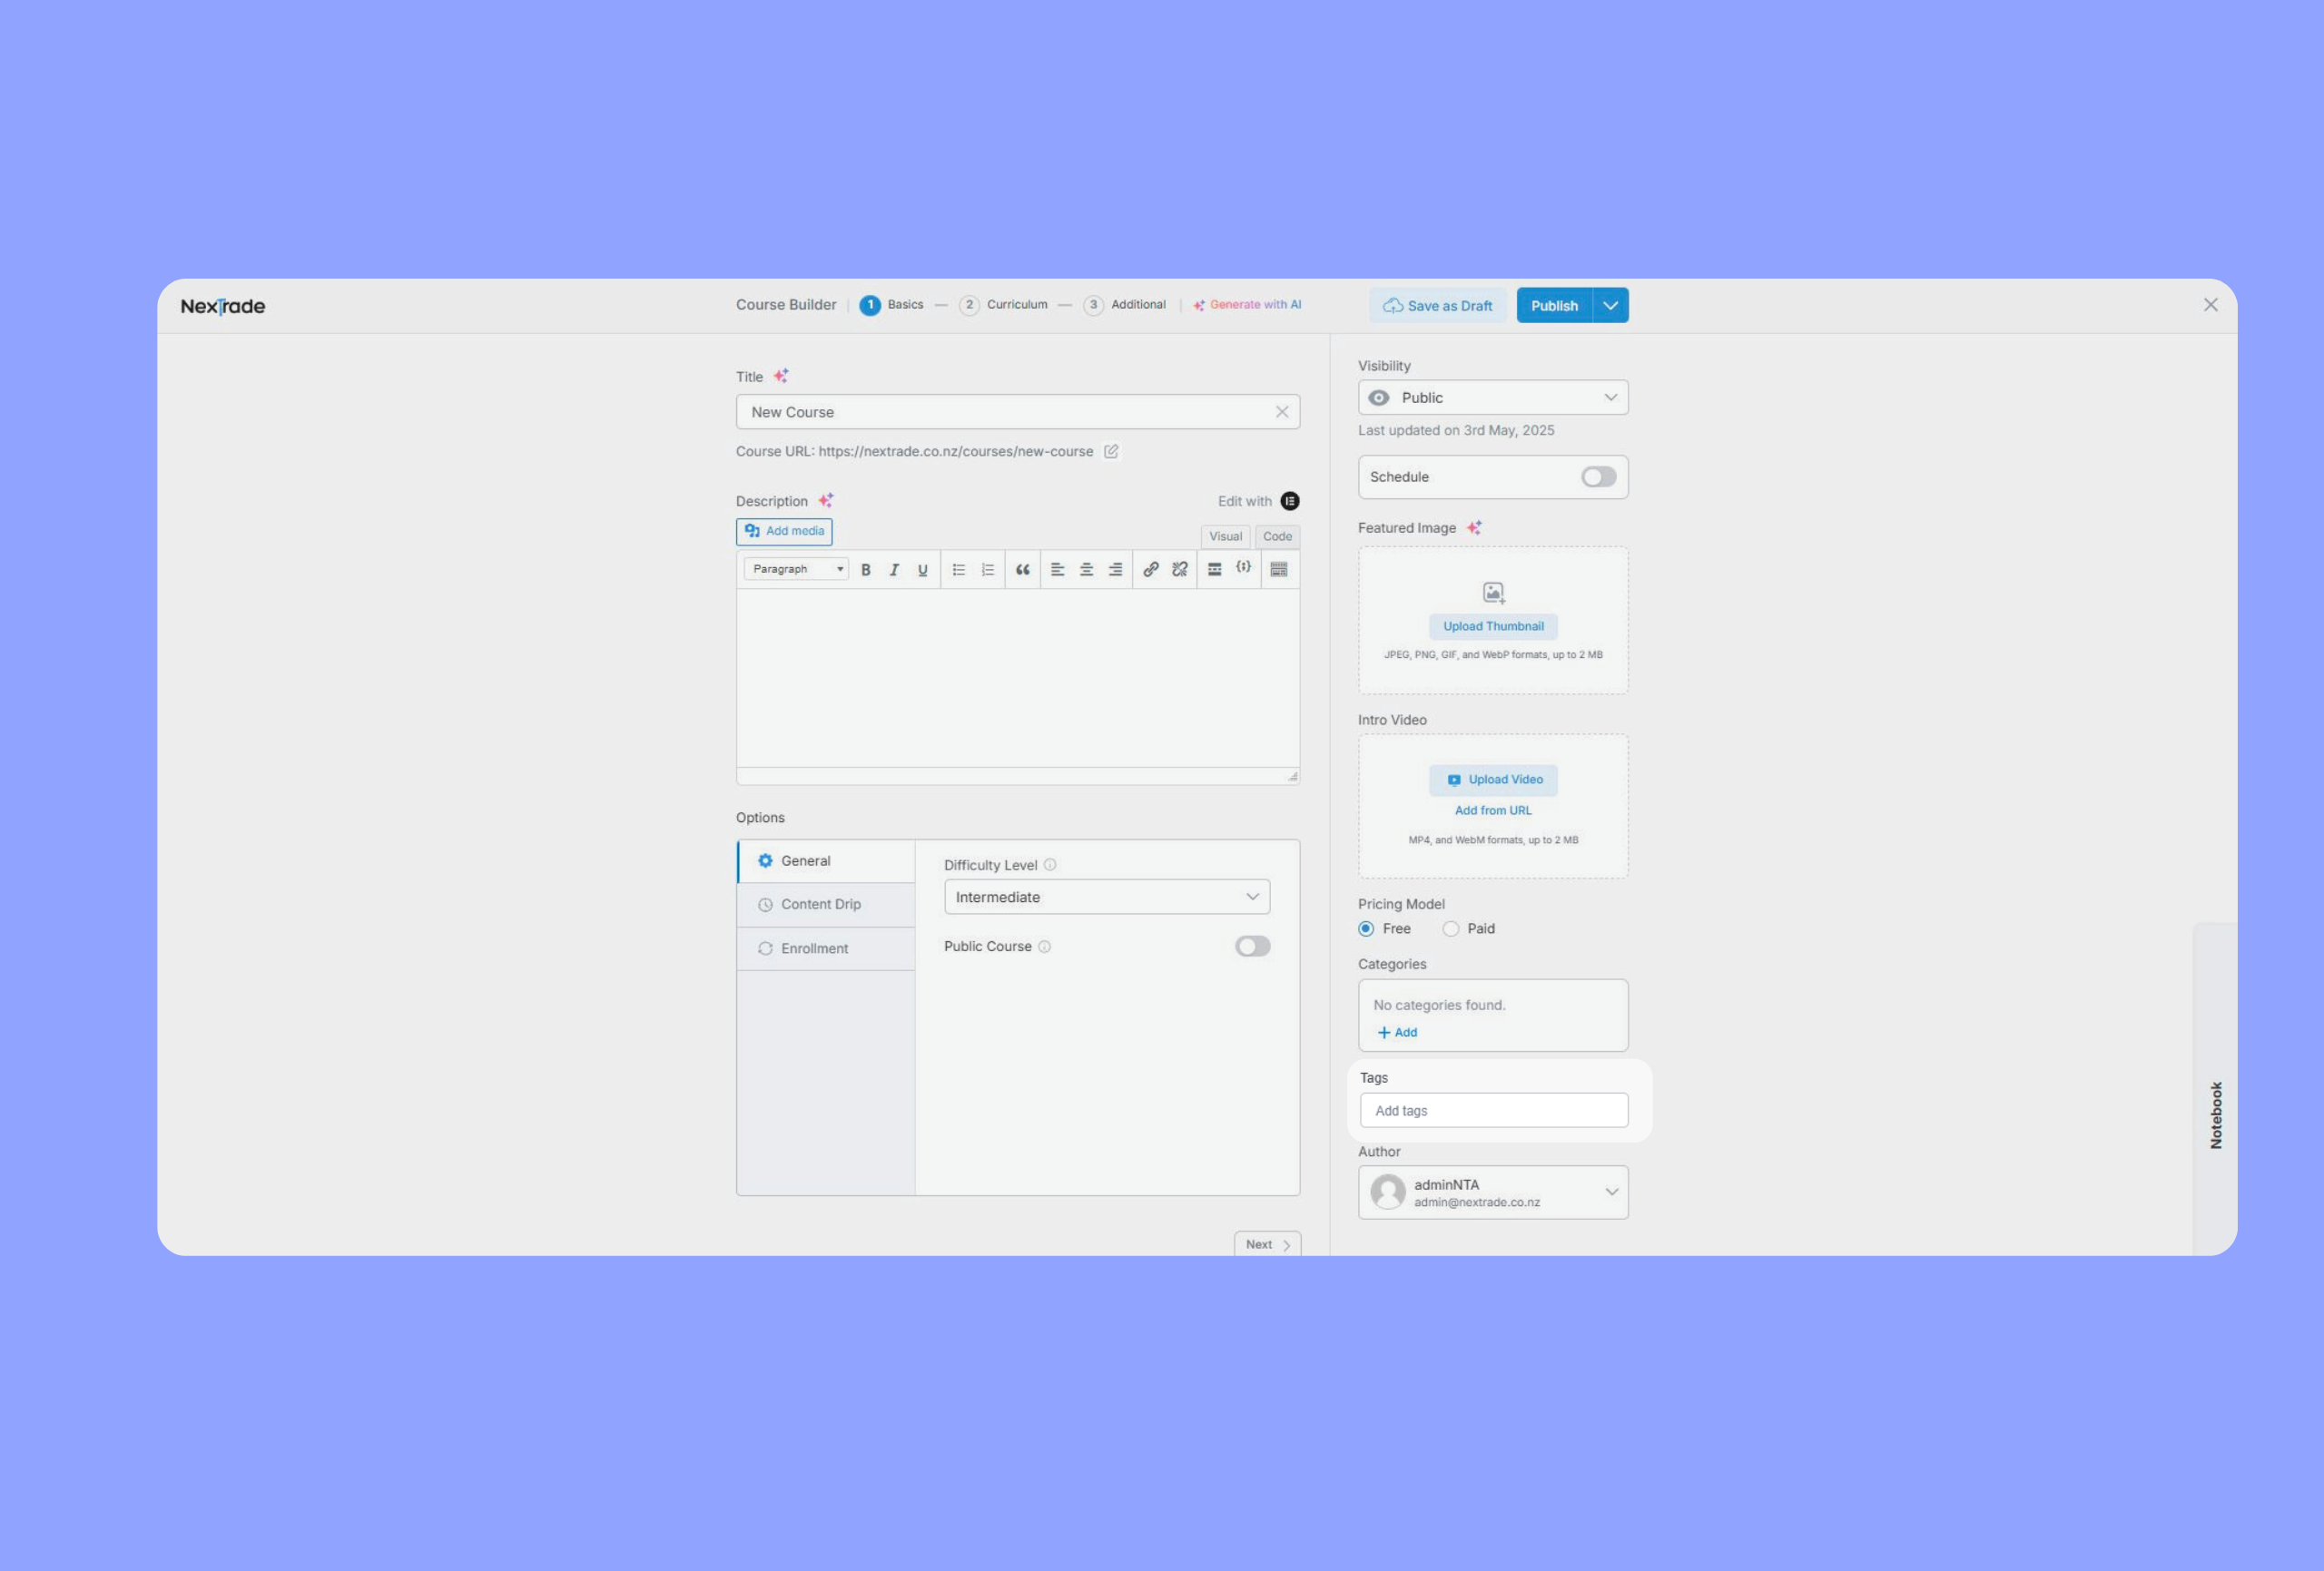
Use keywords to describe your course content. Type to add or select tags.
Note: Tags can be created in NexTrade > Tags.
Author
Assign an instructor from your list of registered users.
Note: See NexTrade documentation for adding instructors.
Multiple Instructors
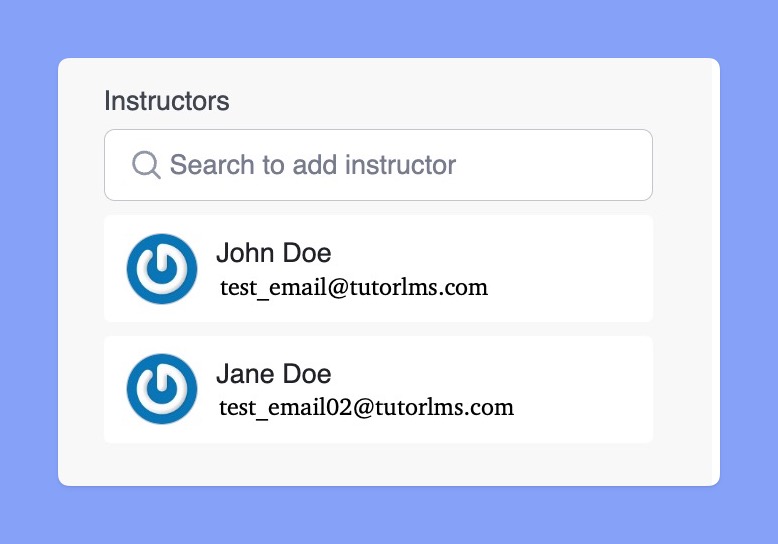
Add additional instructors by typing their name or email and selecting from the list.
Note: Requires the Multi-Instructor add-on (enable in NexTrade Pro > Add-ons).
Notebook
Use the Notebook to draft ideas, store code snippets, or plan content.
Click the “Notebook” bar at the bottom right to open. Use the minimize/maximize buttons to adjust the view.
Next Steps
After completing the “Course Basics” section, click “Next” in the Course Builder to move on to building your curriculum.


